Shiplap garage walls are a popular trend that is taking the DIY world by storm. These walls are not only aesthetically pleasing, but they also provide several practical benefits for homeowners. From increased storage space to improved insulation, shiplap garage walls are an excellent addition to any home or garage.
I will explore the benefits, drawbacks, and costs of installing shiplap garage walls. We will also provide a step-by-step guide for installing these walls so that you can create the perfect shiplap garage of your own.
What is Shiplap Garage Walls?
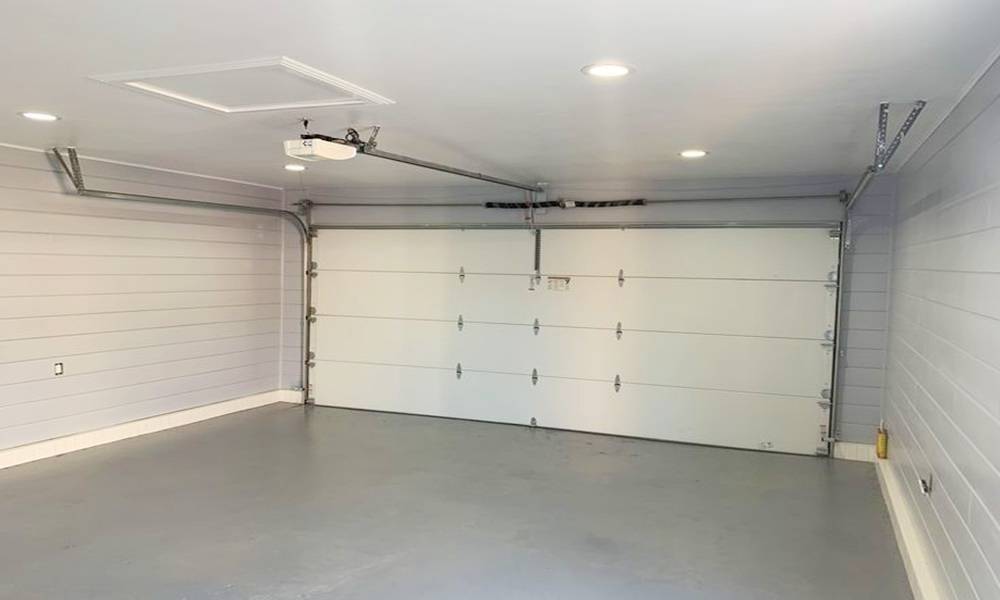
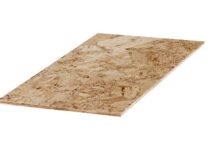
Shiplap is a type of siding that is used in construction. It is made from interlocking planks of wood that create a tight seal against the elements. In a garage setting, shiplap walls are used to create an aesthetically pleasing and practical wall surface. These walls are different from traditional garage walls, as they provide a unique texture and warmth to the space.
Benefits of Shiplap Garage Walls
One of the biggest benefits of garage walls is their aesthetic appeal. These walls add character and warmth to the space, making it feel more like a living area rather than a functional garage. In addition to their aesthetic appeal, shiplap garage walls also provide practical benefits such as increased storage space and improved insulation.
For homeowners looking to create extra storage space in their garages, shiplap walls can be used to create shelving or other storage solutions. Additionally, the tight seal provided by the interlocking planks can help to improve the insulation of the garage, making it more energy-efficient.
Drawbacks of Shiplap Garage Walls
While shiplap garage walls are a great addition to any home or garage, there are a few potential drawbacks to consider. The biggest drawback is the cost of installation. These walls can be more expensive than traditional garage walls, due to the cost of the materials and the complexity of the installation process.
Additionally, shiplap walls can be more difficult to install than traditional walls, requiring a greater degree of skill and attention to detail.
Cost of Installing Shiplap Garage Walls
The cost of installing shiplap garage walls can vary greatly depending on the size of the garage and the type of shiplap used. On average, the cost can range from $500 to $3,000 or more. To save money, it’s important to carefully consider the materials used and to carefully plan the installation process.
Additionally, it may be possible to save money by completing the installation yourself, rather than hiring a professional.
| Shiplap Type | Cost per Sq. Ft. | Cost of an Entire Exterior |
| Hardwood | $0.80 – $4.00 | $2,500 – $3,500 |
| Cedar | $2.50 – $7.00 | $2,500 – $7,000 |
| Pine | $2.50 – $4.00 | $2,500 – $4,000 |
Materials and Tools Needed for Installation
To install shiplap garage walls, you will need a variety of materials and tools. These include shiplap planks, a saw, a drill, screws, a level, a hammer, and a measuring tape. It’s important to choose high-quality materials that are designed to withstand the conditions in a garage setting.
Additionally, it’s important to use the right tools for the job, such as a drill with a screwdriver bit and a saw with a fine-tooth blade.
Step-by-Step Guide for Installing Shiplap Garage Walls
Installing shiplap garage walls is a challenging but rewarding project. To help you get started, we have provided a step-by-step guide that covers everything from preparation to finishing touches.
- Measure the walls and plan the installation. Take careful measurements of the walls to determine the number of shiplap planks you will need. Plan the placement of the planks, taking into account any windows, doors, or electrical outlets.
- Cut the shiplap planks to size Using a saw, carefully cut the shiplap planks to the correct length. Make sure to take into account any irregular shapes or angles in the walls.
- Install a starting board. The starting board serves as the first row of planks and provides a base for the rest of the installation. Measure and cut the starting board to size, and attach it to the wall using screws. Make sure it is level and straight.
- Attach the shiplap planks. Begin by attaching the first shiplap plank to the starting board. Make sure the plank is level and straight, and attach it to the wall using screws. Repeat this process, attaching each subsequent plank to the wall until all planks are in place.
- Finish the edges. Once all the shiplap planks are in place, use a saw to carefully trim the edges to create a neat and finished look.
- Paint or stain the walls. To finish the project, paint or stain the shiplap garage walls as desired. This will not only enhance their appearance but also help to protect them from the elements.
Installing shiplap garage walls is a great way to add character and warmth to your garage while also providing practical benefits such as increased storage space and improved insulation. While it can be a challenging project, with careful planning and attention to detail, anyone can create the perfect shiplap garage of their own.
Maintenance and Upkeep of Shiplap Garage Walls
Shiplap garage walls require very little maintenance, but a few simple steps can help keep them looking great for years to come. Here are some tips for maintaining shiplap garage walls:
- Clean regularly. Dust and grime can build up over time, so it’s important to clean the walls regularly. Use a damp cloth or microfiber mop to remove dust and dirt, and be sure to clean up any spills or stains as soon as they occur.
- Protect from moisture. Moisture can cause damage to shiplap walls, so it’s important to keep the garage well-ventilated and dry. Use a dehumidifier if necessary, and keep an eye out for any signs of water damage, such as warping or mold.
- Avoid harsh chemicals. Avoid using harsh chemicals or abrasive cleaners when cleaning shiplap garage walls, as these can damage the finish or paint. Use a mild detergent or vinegar-based cleaner instead.
- Repair any damage promptly. If you notice any damage to the shiplap garage walls, such as chips or cracks, be sure to repair them promptly. This will help prevent further damage and keep the walls looking great.
By following these simple tips, you can keep your shiplap garage walls looking great for years to come. With regular maintenance and upkeep, your shiplap garage walls will continue to provide the style and functionality you want, making them the perfect addition to your home.
Common Mistakes to Avoid
1. Neglecting Proper Wall Preparation
One of the most common mistakes when installing shiplap garage walls is overlooking the importance of proper wall preparation. Failing to ensure that the walls are clean, dry, and free from any existing coverings can result in an uneven or unstable installation. Before beginning the installation process, take the time to thoroughly inspect the walls and address any issues such as moisture or damage.
2. Using Incorrect Fasteners or Inadequate Securing
Another mistake to avoid is using the wrong type of fasteners or failing to secure the shiplap boards adequately. Using nails or screws that are too short or not designed for use with wood can lead to sagging or shifting of the boards over time. It’s essential to choose the appropriate fasteners and ensure they are driven securely into the wall studs to provide proper support for the shiplap.
3. Skipping Protective Measures Against Moisture
Moisture is a common enemy of wood, and failing to protect shiplap garage walls against moisture can result in warping, rotting, or mold growth. Before installing shiplap, consider applying a moisture barrier to the walls to prevent water infiltration. Additionally, ensure that the garage is adequately ventilated to reduce humidity levels and minimize the risk of moisture-related damage.
Inspiring Examples of Shiplap Garage Walls
When considering shiplap for your garage walls, it can be helpful to seek inspiration from various sources. Browse online platforms such as Pinterest or home improvement websites for photographs of shiplap garage walls in different styles and configurations.
Visit local home improvement stores or attend home tours to see firsthand examples of how shiplap can be incorporated into garage design. From sleek and modern to rustic and cozy, there are endless possibilities to explore, allowing you to find the perfect look for your space.
Environmental Impact and Sustainability
As awareness of environmental issues continues to grow, many homeowners are seeking eco-friendly options for their home improvement projects. When choosing materials for shiplap garage walls, opt for sustainably sourced wood to minimize environmental impact.
Look for certifications such as the Forest Stewardship Council (FSC) certification, which indicates that the wood has been harvested from responsibly managed forests. By choosing sustainably sourced wood, you can enjoy the beauty of shiplap walls while minimizing your carbon footprint and supporting responsible forestry practices.
Conclusion
Shiplap garage walls offer a winning combination of durability, aesthetics, and ease of installation, making them an excellent choice for upgrading your garage space. By avoiding common mistakes, seeking inspiration from inspiring examples, and prioritizing environmental sustainability, you can create a stylish and functional garage that reflects your personal style and values. Whether you’re transforming your garage into a cozy retreat or a functional workshop, shiplap provides a versatile canvas for your creativity.