How to Seal Garage Door Gaps
Sealing the gaps around your garage door is crucial for maintaining a comfortable and energy-efficient environment inside your home. Not only does it keep out unwanted elements like rain, snow, and pests, but it also enhances the overall insulation of your garage, which can lead to savings on your energy bills.
Identify the Gaps
Before embarking on the task of sealing garage door, it’s crucial to pinpoint exactly where the gaps are located. This initial step ensures that your efforts are focused on the areas that truly require attention, maximizing the effectiveness of your sealing efforts.
One effective method to identify these gaps is by conducting a simple inspection during nighttime hours. Start by switching off all the lights inside the garage to create optimal darkness. Then, enlist the help of a partner to stand outside while you remain indoors.
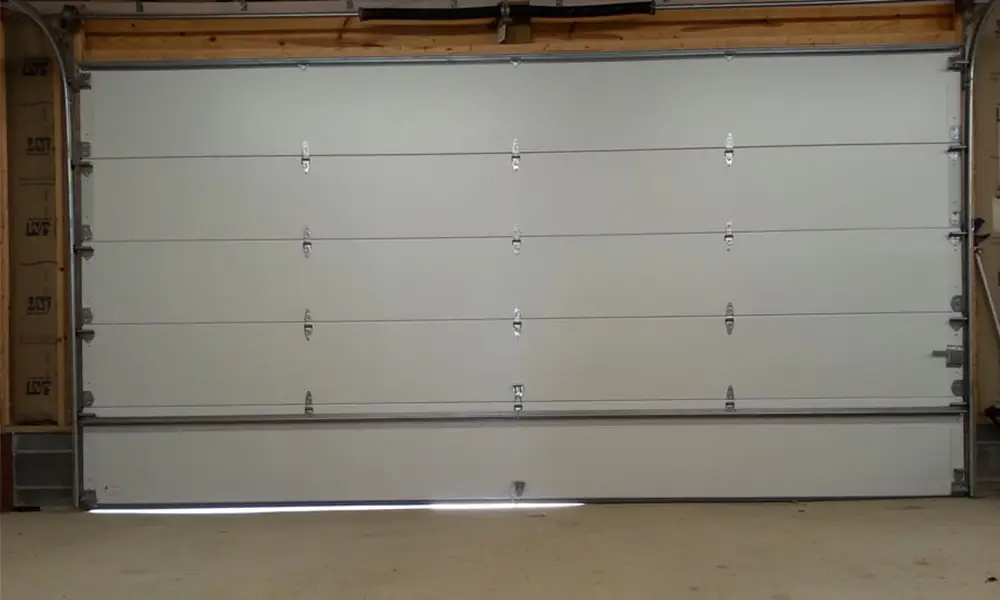
Armed with a powerful flashlight, your partner should systematically shine the light along the perimeter of the garage door. As they move the beam, pay close attention to any areas where light penetrates through gaps in the door seals.
Specifically, check for any light seeping through around the side seals, the top seal, and the bottom seal of the garage door. These are common areas where gaps may form over time due to wear and tear or improper installation.
As your partner continues to illuminate the door, take note of these locations where light infiltration occurs. You can mark these spots using chalk or a temporary marker, making it easier to identify them later during the sealing process.
By meticulously identifying these gaps beforehand, you’ll be better equipped to tackle them head-on, ensuring a thorough and effective sealing job that enhances the overall insulation and weatherproofing of your garage.
Sealing the Sides and Top
When it comes to weatherproofing your garage door, paying attention to the sides and top is paramount. These areas are particularly vulnerable to drafts, moisture intrusion, and energy loss, making them prime candidates for weatherstripping.
To begin, it’s essential to assess the condition of any existing weatherstripping. If you notice any signs of wear, damage, or deterioration, it’s time to remove and replace it.
Start by carefully removing the old weatherstripping from the sides and top of the garage door. Depending on the type of weatherstripping in place, this may involve peeling it away or using a utility knife to cut through any adhesive.
Once the old weatherstripping is removed, take a moment to inspect the surrounding area. Check for any remaining nails or adhesive residue that could hinder the installation of new weatherstripping. Use a hammer or pliers to carefully pull out any nails, and clean the surface thoroughly to ensure optimal adhesion.
With the area prepared, it’s time to install the new weatherstripping. Choose a high-quality weatherstripping material that is specifically designed for garage door use, ensuring durability and longevity.
Carefully measure and cut the weatherstripping to fit the length of the sides and top of the garage door. Make sure to leave a slight overlap at the corners to ensure a seamless seal.
Starting at one end, press the weatherstripping firmly into place along the edge of the door. Use a combination of pressure and adhesive to secure it in position, ensuring a tight and uniform seal.
Continue this process along the entire length of the sides and top of the garage door, taking care to maintain consistent spacing and alignment. Pay special attention to any areas where gaps or irregularities may exist, ensuring thorough coverage to prevent drafts and moisture infiltration.
Once the weatherstripping is installed, give it a final inspection to ensure that it’s securely in place and free from any gaps or gaps. This tight seal will not only improve the energy efficiency of your garage but also provide added protection against the elements, keeping your space comfortable and secure.
By sealing the sides and top of your garage door with quality weatherstripping, you’ll enjoy enhanced insulation, reduced energy costs, and greater peace of mind knowing that your garage is well-protected against the elements.
Sealing the Bottom
The bottom seal of garage door plays a crucial role in preventing moisture, drafts, and debris from infiltrating your garage space. Unlike the sides and top, the bottom seal rests directly against the concrete floor, presenting unique challenges and requirements for effective sealing.
To ensure comprehensive protection, it’s essential to utilize both a bottom seal and a threshold seal. The bottom seal creates a barrier along the bottom edge of the garage door, while the threshold seal adds an additional layer of protection against rain and snow.
Begin by carefully inspecting the existing bottom seal for any signs of wear or damage. If necessary, remove the old seal and thoroughly clean the area to prepare it for the new seal installation.
Next, install the bottom seal along the bottom edge of the garage door, ensuring a snug fit that creates a tight seal against the concrete floor. Pay close attention to any gaps or gaps in the seal, as these can compromise its effectiveness.
In addition to the bottom seal, consider incorporating a brush-style top seal to further enhance the overall sealing of the door. This type of seal features dense bristles that provide additional insulation and protection against drafts and debris.
To complete the sealing process, install vinyl weather stripping along the sides and top of the garage door frame. This extra layer of protection helps to seal any remaining gaps and ensures comprehensive coverage against the elements.
Additional Tips
In addition to sealing the garage door itself, there are several additional tips you can implement to further enhance the energy efficiency and comfort of your garage space.
For those seeking to reduce noise levels, especially in garages attached to the home, consider using foam or vinyl strips to seal the gaps on both sides of the door. These materials absorb sound vibrations, creating a quieter environment inside your home.
Furthermore, if pests are a concern in your area, be sure to choose weatherstrips specifically designed to deter them from entering your garage. These specialized seals feature additional barriers and deterrents to keep unwanted intruders at bay.
By implementing these simple yet effective strategies, you can not only improve the energy efficiency of your garage but also enhance its overall comfort and security. Remember, sealing your garage door is an investment in the protection of your home against the elements, providing peace of mind for you and your family.
Conclusion
Sealing the gaps around your garage door is a simple yet impactful step toward enhancing the energy efficiency, comfort, and security of your home. By diligently following the outlined steps and implementing additional measures such as noise reduction and pest prevention, you can create a well-insulated garage space that effectively shields your home from the elements and intruders alike.
Investing a little time and effort into sealing your garage door not only yields immediate benefits, such as lower energy bills and reduced noise levels, but also contributes to the long-term maintenance and protection of your property. Ultimately, by prioritizing the sealing of your garage door, you can enjoy a more comfortable, secure, and enjoyable living environment for you and your family.
FAQs
Why is it important to seal garage door gaps?
Sealing garage door gaps prevents unwanted elements like rain, snow, and pests from entering your garage, improving energy efficiency and comfort.
How often should I check and replace weatherstripping?
It’s recommended to check weatherstripping annually and replace it as needed, especially if it shows signs of wear or damage.
Can I seal garage door gaps myself or do I need professional help?
Sealing garage door gaps can typically be done as a DIY project. However, if you’re unsure or if the job requires extensive repairs, it’s best to consult a professional.
Will sealing the garage door gaps help reduce energy bills?
Yes, sealing garage door gaps can help improve insulation and reduce energy loss, potentially leading to savings on your energy bills.
Are there any specific tools required for sealing garage door gaps?
Basic tools such as a hammer, screwdriver, and utility knife are often needed for removing old weatherstripping and installing new seals. Additionally, weatherstripping adhesive may be required for securing the seals in place


