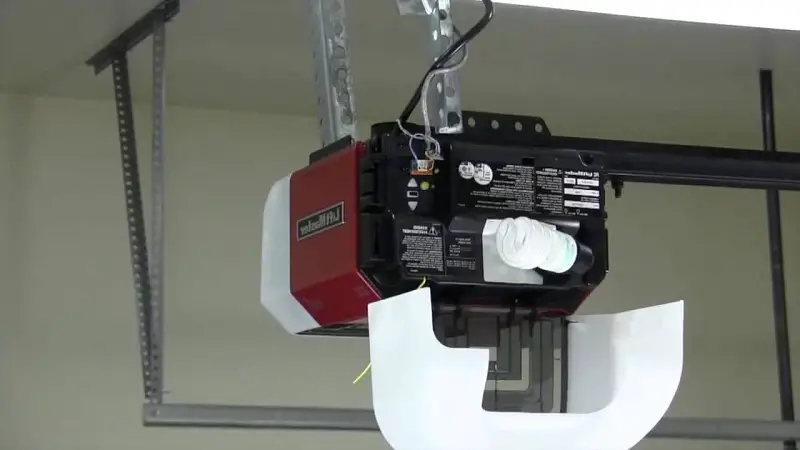
If you own a garage door opener, especially a Liftmaster model, you may have noticed that some come equipped with a battery backup system.
This feature ensures that your garage door can still function during power outages, providing you with convenience and security.
Like any battery-powered device, the battery in your garage door opener will eventually need replacement, typically every one to two years.
In this article, we will guide you through the process of safely and efficiently replacing the battery in your Liftmaster garage door opener.
Why Replace the Battery?
The battery in your Liftmaster garage door opener is a crucial component that keeps the backup system functional.
Over time, batteries lose their ability to hold a charge effectively, leading to decreased backup performance.
When the battery’s charge capacity diminishes, the garage door opener will signal you by beeping, and the battery status LED will turn red, indicating that it’s time for a replacement.
Safety Precautions
Before you begin the battery replacement process, it’s essential to ensure your safety. Always wear gloves and eye protection when working with batteries to avoid any potential hazards.
Unplug the garage door opener from the power source to prevent electrical accidents during the replacement.
Step-by-Step Guide to Battery Replacement
1. Unplugging the Garage Door Opener
Start by disconnecting the garage door opener from the power source. This step is crucial to prevent any electrical mishaps while you work on replacing the battery.
2. Accessing the Battery Compartment
Locate the light lens on the garage door opener, usually positioned near the control buttons. Open the light lens to access the battery compartment.
3. Removing the Old Battery
Inside the battery compartment, you’ll find the old battery. Carefully remove the battery by pulling it out and disconnecting the red and black wires from the battery terminals.
4. Connecting the New Battery
Take your new battery and connect the red and black wires to the appropriate terminals. Ensure the red wire is connected to the red terminal, and the black wire is connected to the black terminal.
5. Securing the Battery Compartment
Insert the new battery into the compartment, making sure it fits snugly. Then, secure the battery compartment cover to keep the battery in place. Be cautious not to pinch any wires during this process.
6. Charging the Battery
After securing the battery, plug the garage door opener back into the power source. The battery status LED on the garage door opener will blink green, indicating that the battery is charging.
When the LED turns solid green, it means the battery is fully charged. The charging process usually takes approximately 24 hours.
Testing the Battery
Before relying on the battery backup system, it’s essential to test it to ensure proper functionality. Unplug the garage door opener from the power source and then activate it using either the door control or the remote.
Keep in mind that the garage door opener might run slower on battery power, especially if the battery isn’t fully charged.
The battery status LED will either glow solid orange, indicating the garage door opener is operating on battery power, or it will flash orange, indicating a low battery.
Troubleshooting
If you encounter any issues during the battery replacement or charging process, consult the Liftmaster user manual for troubleshooting tips. If problems persist, consider reaching out to Liftmaster customer support for assistance.
Read Also: How to Program LiftMaster Garage Door Opener
Conclusion
Regular maintenance, including battery replacement, is vital to ensure your Liftmaster garage door opener operates at its best.
By following the steps outlined in this guide, you can easily and safely replace the battery in your garage door opener and maintain uninterrupted access to your garage even during power outages.
FAQs
How often should I replace the battery in my Liftmaster garage door opener?
Battery replacement is typically required every one to two years, depending on usage and environmental conditions.
Can I use any type of battery for replacement?
It is recommended to use the specific battery model recommended by Liftmaster for your garage door opener to ensure compatibility and optimal performance.
What should I do if the battery doesn’t charge?
If the battery fails to charge properly, ensure all connections are secure and refer to the user manual for troubleshooting steps. If the issue persists, contact Liftmaster customer support for further assistance.
Is it normal for the garage door opener to run slower on battery power?
Yes, it is normal for the garage door opener to run slightly slower on battery power, especially if the battery is not fully charged.
How can I extend the battery life in my garage door opener?
To extend the battery life, avoid exposing the garage door opener to extreme temperatures and ensure the battery is charged regularly, even if there’s no power outage.
Liftmaster models
Liftmaster 8500 Garage Door Opener


