Program LiftMaster keypad is an essential task for anyone who wants to enhance the security and convenience of their garage door opener.
With a programmed keypad, you can easily access your garage without the need for a traditional key or remote control.
In this step-by-step guide, we will walk you through the process of programming LiftMaster keypad.
Whether you’re a seasoned DIY enthusiast or a beginner, this article will provide you with all the information you need to successfully program your LiftMaster keypad and enjoy the benefits it offers.
Understanding LiftMaster Keypads
What is a LiftMaster Keypad?
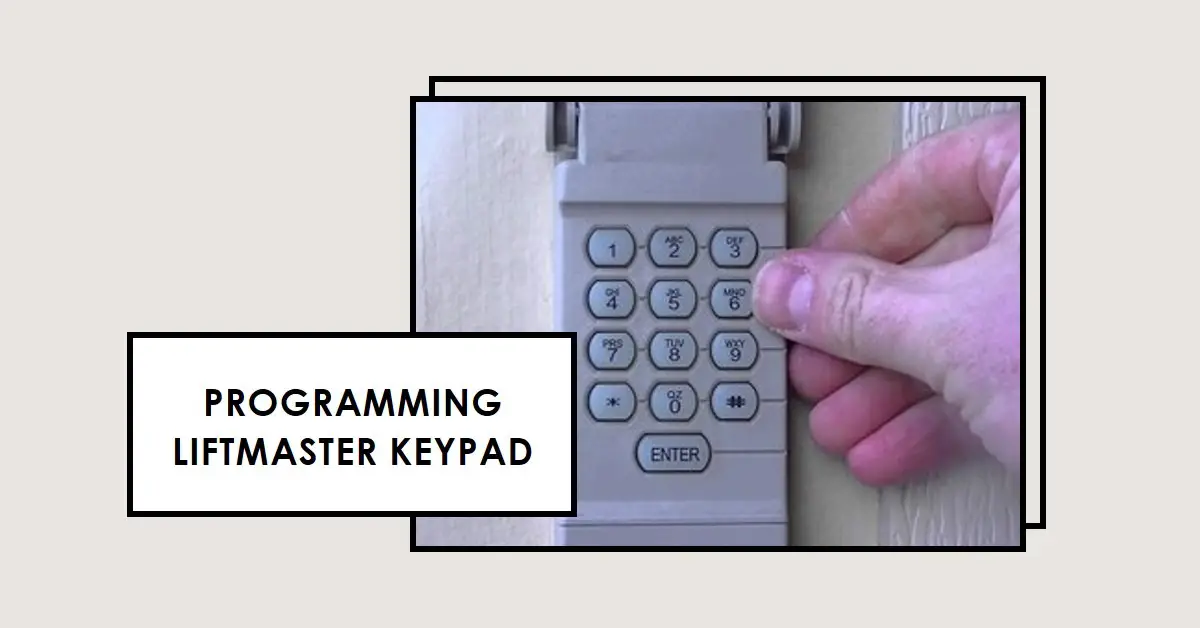
A LiftMaster keypad is a wireless device that is typically mounted outside your garage door. It functions as a digital lock, allowing you to enter a personalized code to open your garage door.
LiftMaster keypads are designed to work seamlessly with LiftMaster garage door openers, providing enhanced security and convenience.
Benefits of a LiftMaster Keypad
Using a LiftMaster keypad offers several advantages. Firstly, it eliminates the need to carry a physical key or remote control.
This can be particularly beneficial when you are going for a walk, a jog, or a bike ride, as you won’t need to take any belongings with you.
LiftMaster keypads provide an extra layer of security since the code needed to open the garage is known only to you and those you choose to share it with.
Preparing for Programming
Before diving into the programming process, it’s important to ensure you have all the necessary materials and locate the keypad.
Gathering Required Materials
To program your LiftMaster keypad, you will need the following materials:
- LiftMaster keypad (compatible with your garage door opener model)
- Ladder (if the keypad is mounted at a height)
Ensure that you have these materials readily available before proceeding with the programming steps.
Locating the Keypad
Identify the position of your LiftMaster keypad outside your garage. The keypad is typically mounted near the garage door entrance, preferably at a convenient height for easy access. Take note of its placement and make sure it is securely fixed to the wall.
Programming Your LiftMaster Keypad
Now that you have everything prepared, it’s time to dive into the programming process. Follow these step-by-step instructions to program your LiftMaster keypad successfully.
Step 1: Clearing Previous Codes
Before programming a new code, it’s essential to clear any previously saved codes from the keypad’s memory. This ensures that only the desired code will be active and functional. To clear previous codes, follow these steps:
- Locate the “Learn” or “Smart” button on your LiftMaster garage door opener. This button is typically found on the motor unit, which is usually mounted on the ceiling of your garage.
- Press and hold the “Learn” or “Smart” button until the indicator light next to it turns off. This usually takes around 6 to 10 seconds.
- Release the button once the indicator light is off. This action clears all previously programmed codes from the opener’s memory.
Step 2: Accessing the Programming Mode
To begin programming your LiftMaster keypad, you need to access the programming mode. Follow these instructions:
- Locate the “Program” or “Learn” button on the garage door opener motor unit.
- Press the “Program” or “Learn” button once. The indicator light on the motor unit should turn on and remain lit, indicating that the opener is now in programming mode.
Step 3: Entering a New Code
With the opener in programming mode, you can now enter a new code for your LiftMaster keypad. Here’s how to do it:
- Approach the LiftMaster keypad outside your garage.
- Locate the numbered buttons on the keypad and decide on a unique code that you will easily remember.
- Enter the desired code using the numbered buttons on the keypad. Make sure to press each button firmly and accurately.
- After entering the code, locate the “Enter” or “Send” button on the keypad and press it. This action sends the code to the garage door opener.
Step 4: Testing the Code
Once you have entered and sent the new code, it’s time to test its functionality. Follow these steps to ensure that the code successfully opens your garage door:
- Stand a few feet away from the garage door and face the LiftMaster keypad.
- Enter the newly programmed code on the keypad.
- After entering the code, listen for the sound of the garage door opener engaging.
- Observe the movement of the garage door. It should open smoothly and completely.
You have successfully programmed your LiftMaster keypad. Enjoy the convenience and security it provides.
All about LiftMaster
How to Program LiftMaster Garage Door Opener
LiftMaster Garage Door Not Closing
Chamberlain vs LiftMaster Garage Door Openers
Troubleshooting Tips
In case you encounter any issues during the programming process or while using your LiftMaster keypad, here are a few troubleshooting tips:
Code Not Working?
If the code you entered does not open the garage door, try the following:
- Double-check that you entered the code correctly. It’s easy to make a mistake, so ensure that each button press corresponds to the intended code.
- Confirm that the indicator light on the motor unit blinks or flashes when you enter the code. This indicates that the keypad is communicating with the opener.
- If the code still doesn’t work, repeat the programming process from Step 1 and ensure you clear any previous codes before programming a new one.
Keypad Not Responding?
If the keypad does not respond at all or the indicator light on the motor unit does not turn on when you enter the code, try the following troubleshooting steps:
- Check the battery: LiftMaster keypads are typically powered by batteries. Make sure the battery is not dead or low on power. Replace it if necessary and try programming the code again.
- Ensure proper alignment: Ensure that the keypad is aligned correctly with the garage door opener. Sometimes, misalignment can prevent the keypad from communicating with the opener. Adjust its position if needed and test the code again.
- Verify compatibility: Confirm that your LiftMaster keypad is compatible with your specific garage door opener model. Consult the user manual or contact LiftMaster customer support to ensure compatibility.
If you continue to experience issues with your LiftMaster keypad, it’s recommended to reach out to LiftMaster customer support for further assistance.
Conclusion
Programming LiftMaster keypad is a straightforward process that enhances the security and convenience of accessing your garage.
By following the step-by-step guide outlined in this article, you can successfully program your LiftMaster keypad and enjoy the benefits it offers.
Remember to gather the necessary materials, clear previous codes, enter a new code, and test its functionality. If you encounter any issues, refer to the troubleshooting tips or seek assistance from LiftMaster customer support.


