Exposed Garage Ceiling Insulation: How to Install
An exposed garage ceiling might appear inconsequential, but its impact on both your comfort and energy efficiency is substantial. In […]
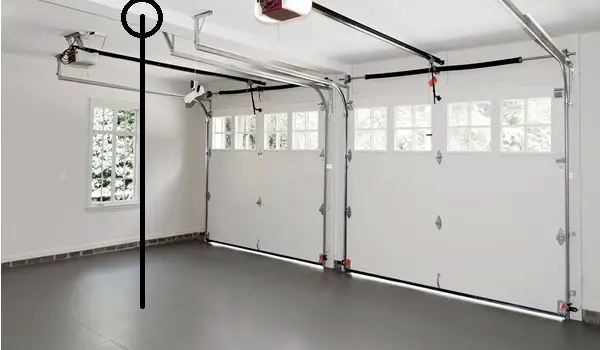
An exposed garage ceiling might appear inconsequential, but its impact on both your comfort and energy efficiency is substantial. In this article, I will discuss in detail the importance of insulating your open garage ceiling. By taking this step, you will not only ensure a warm and comfortable space during cold nights, but you will also significantly improve the overall energy efficiency of your garage.

Gathering Supplies
Before you embark on the insulation journey, it’s crucial to gather all the necessary supplies. To get started, make sure you have a sturdy ladder, a reliable measuring tape, a utility knife for precise cuts, a drywall lift for easier installation, fiberglass batts tailored to your needs, nails, a nail gun, and drywall staples accompanied by a staple gun.
Inspecting and Measuring
Begin the process by ascending the ladder and carefully inspecting your garage ceiling. Take precise measurements of the height, width, and depth of the joists. While standard fiberglass batts are typically available at hardware stores, adjustments might be required for non-standard joists. It’s imperative to address any ceiling damage before proceeding with the insulation project.
Purchasing Insulation
To determine the ideal R-value for your insulation, consider both your geographical location and the depth of the joists. For colder climates, it’s advisable to aim for at least R30. Don’t hesitate to seek guidance from experts at your local home improvement stores; their insights will help you choose the right insulation tailored to your specific needs.
Installing Fiberglass Batts
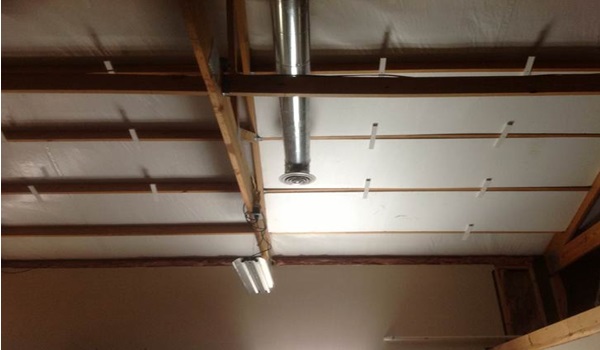
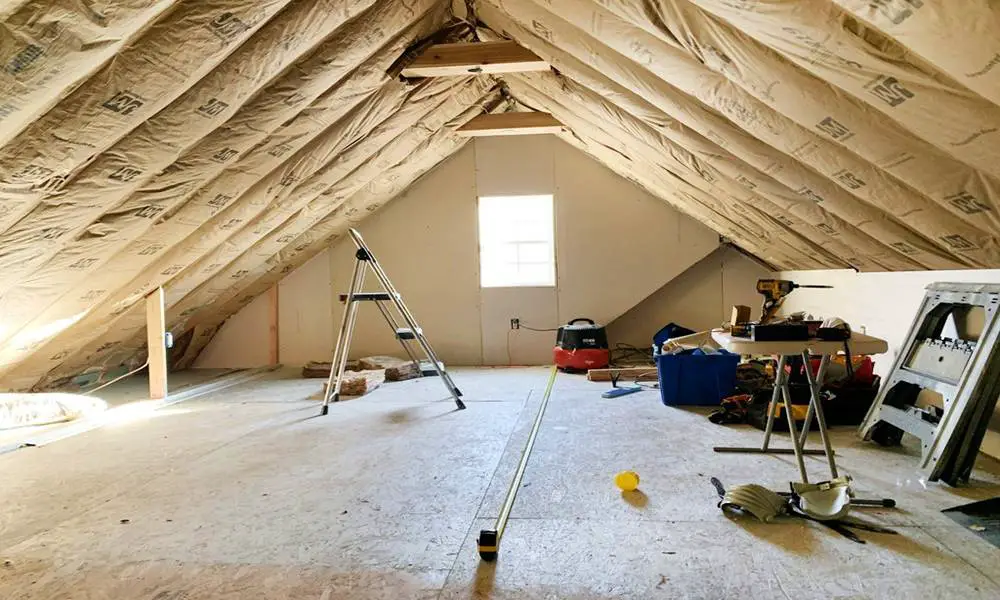
Acquire fiberglass batts that cover the height and width between your ceiling joists. Use the stapling flange to securely fasten the batts in place, ensuring there are no gaps that could compromise insulation effectiveness. Leave a bit of room on the paper facing for any necessary adjustments. A well-executed installation of fiberglass batts is instrumental in maintaining a warm garage environment during cold nights.
The insulation process involves a series of steps, each building upon the previous one, to create an effective barrier against external temperature fluctuations. By following these guidelines, you are not only ensuring the comfort of your garage space but also contributing to a more energy-efficient home.
Covering with Drywall
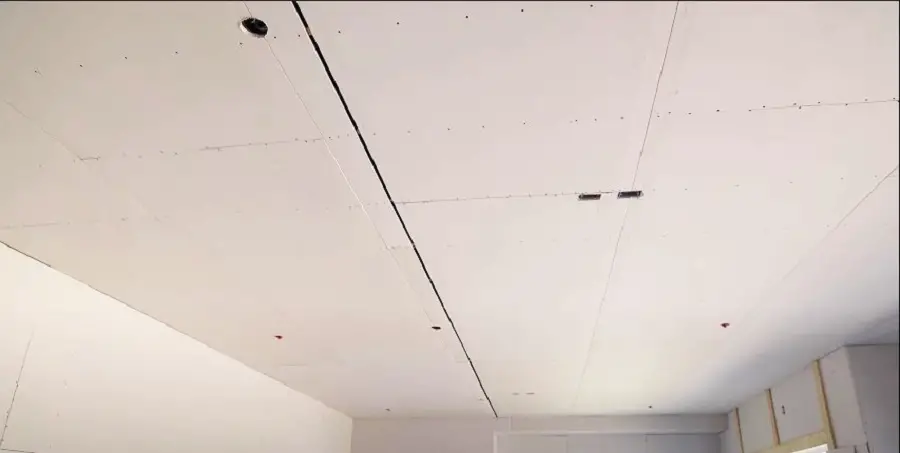
Now that you’ve successfully installed the fiberglass batts, the next crucial step is covering them with drywall. This not only enhances the safety of your garage but also adds an aesthetic touch, providing a polished and finished appearance to the space.
To begin, measure the dimensions of your garage ceiling and cut the drywall sheets accordingly, ensuring a precise fit. Lay the drywall over the installed fiberglass batts, starting from one end and progressing systematically. Use drywall screws to secure the sheets to the ceiling joists, ensuring a tight and secure fit.
The addition of drywall serves a dual purpose. Firstly, it acts as an extra layer of protection against potential fire hazards. This is especially important in a garage where various tools, equipment, and vehicles may pose a higher risk. Secondly, the drywall gives your garage a refined and completed look, transforming it into a more inviting and functional space.
It’s crucial to highlight the importance of covering exposed insulation. Not only does it contribute to the overall safety of your garage, but it also addresses potential health concerns. Exposed insulation can lead to discomfort, skin irritation, and respiratory issues, making the proper coverage with drywall an essential aspect of this insulation project.
By meticulously following these steps, you’re not just ensuring safety and functionality; you’re elevating your garage to a new level of comfort and aesthetics.
Conclusion
Taking the initiative to insulate your exposed garage ceiling is a relatively simple yet highly impactful project. Beyond the immediate benefits of enhanced comfort, this undertaking significantly contributes to the overall energy efficiency of your home.
A well-insulated garage serves as a buffer against external temperature extremes, maintaining a pleasant environment year-round. Moreover, the addition of drywall not only reinforces safety measures but also elevates the visual appeal of your garage.
In essence, by investing time and effort into insulating your garage, you’re creating a space that is not only more comfortable but also more functional and aesthetically pleasing. So, go ahead and transform your garage into a cozy retreat while making a positive impact on your home’s energy efficiency.
