Greetings, fellow garage aficionados! Get ready for an exciting journey as we delve into the intricacies of transforming your garage with the installation of the cutting-edge Chamberlain RJ-0101 wall-mounted garage door opener.
Whether you’re revamping your existing setup or venturing into the world of garage door automation for the first time, This comprehensive guide promises to be your trusted companion, offering invaluable insights to streamline the installation process and elevate your garage experience.
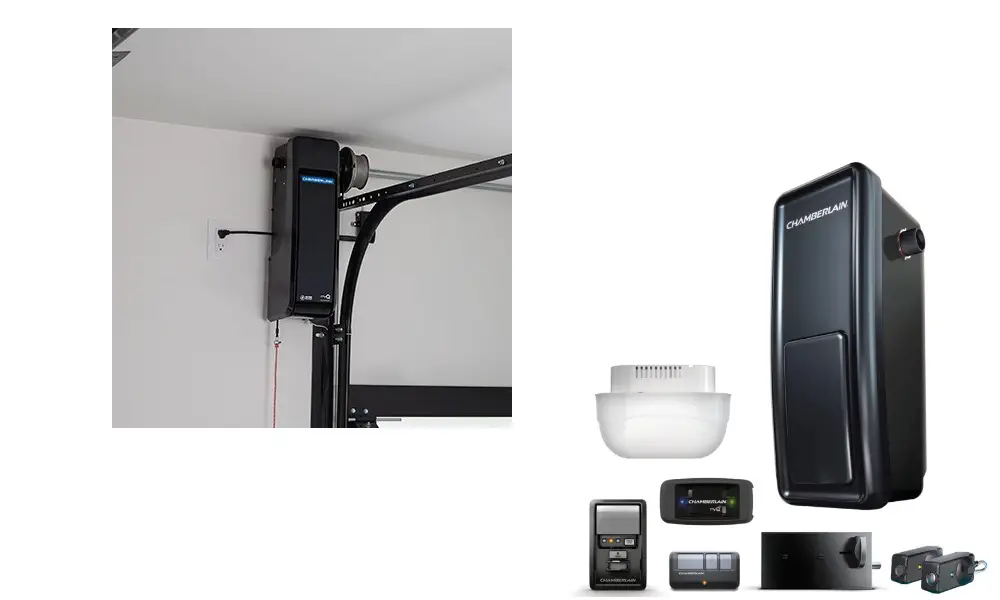
Choosing the Chamberlain RJ-0101
Understanding Garage Door Openers:
Let’s start by unraveling the fascinating features inherent to wall-mounted garage door openers. Understanding the technological nuances sets the stage for a seamless installation experience. We’ll explore why these openers have become a game-changer in the realm of garage door automation.
Why the Chamberlain RJ Series Stands Out
The Chamberlain RJ series emerges as a standout choice. What makes it exceptional? We’ll delve into the unique attributes that make this series a preferred option for garage enthusiasts seeking reliability, innovation, and unmatched performance.
Unique Features of the Chamberlain RJ-0101
Now, let’s shine a spotlight on the star of the show – the Chamberlain RJ-0101. This model boasts distinctive features that set it apart in the crowded market of garage door openers.
No Cable Tension Sensor: A Distinct Advantage
One standout feature is the absence of a cable tension sensor. We’ll uncover why this omission is not just a deviation but a strategic advantage, simplifying the installation process and enhancing overall reliability.
Door Profile Technology for Accurate Calibration
Discover the innovative door profile technology that ensures precise calibration. This smart feature adapts to your garage door’s specific characteristics, providing a tailored and efficient operation without the need for additional sensors.
Built-in Battery Backup and LED Panel Light
Explore the convenience and added security brought by the built-in battery backup. We’ll shed light on why this feature, though not crucial for all situations, adds a layer of resilience to your garage door system. Additionally, the LED panel light offers a modern, space-saving lighting solution, ensuring functionality without compromising aesthetics.
You may also like:
Installation Steps: Transforming Your Garage with Chamberlain RJ-0101
Now that you’ve familiarized yourself with the impressive features of the Chamberlain RJ-0101, it’s time to roll up your sleeves and embark on the installation journey. Follow these detailed steps to seamlessly integrate this state-of-the-art wall-mounted garage door opener into your space.
1. Mounting the Coupler onto the Torsion Bar and Opener
Begin by sliding the coupler onto the torsion bar, ensuring it’s the correct size. The Chamberlain RJ-0101 typically comes with clear instructions on the orientation. Assemble the coupler onto the opener, aligning it with precision to guarantee a secure fit.
2. Attaching the Support Bracket to the Side of the Opener
Enhance the stability of your opener by affixing the support bracket to the side of the unit. Use the provided screws to secure the bracket tightly, laying the foundation for a robust and reliable setup.
3. Marking and Drilling Holes for Lag Bolts
Position the opener against the wall in the desired location. Mark the spots for the lag bolts to secure the opener. Before drilling, consider using a nut driver to pre-thread the holes, simplifying the mounting process and ensuring a snug fit.
4. Installing the Electronic Lock
If your garage door has pre-existing locks, remove them to make way for the electronic lock included in the Chamberlain RJ-0101 kit. Follow the manufacturer’s instructions for a smooth installation process. Ensure the lock is securely mounted and connected to the opener.
5. Mounting Floor Level Sensor Brackets and Sensors
Prioritize safety by installing the floor level sensors. Mount the brackets strategically on both sides of the garage door, ensuring they are securely affixed. Attach the sensors to the brackets, paying attention to proper alignment for optimal functionality.
6. Mounting the Wall Control Panel and Connecting Wiring
Choose between surface mounting or concealed wiring for the wall control panel. Run the wiring neatly, connecting the red and white wires to their corresponding terminals. Ensure a secure connection, as this panel serves as the nerve center for your garage door system.
7. Plugging in the Opener, Re-engaging the Door, and Setting Door Profile
Connect the opener to power, making sure all connections are secure. If the garage door was disengaged, re-engage it by pulling down until you hear a distinct click. Set the door profile using the control panel, following the manufacturer’s guidelines.
8. Setting Door Travel Limits
Hold the up button until the door reaches its full open position. Repeat the process for the down button until the door reaches its fully closed position. This step ensures precise door travel limits for optimal performance.
9. Confirming Pressure Sensor Calibration
Place an object, like a 2×4, in the path of the closing door. Confirm that the pressure sensors detect the obstruction and prompt the door to reverse. This essential step ensures the safety features are functioning correctly.
10. Optional: Programming Additional Remotes
If you have additional remotes, program them by pressing the learn button on the wall control panel twice. Then, press the desired button on the remote you wish to program. This step enhances convenience and accessibility.
Setting Up the Chamberlain RJ-0101
Now that your Chamberlain RJ-0101 is securely installed, it’s time to explore the crucial setup steps that will optimize its performance and unlock its full potential. Follow this guide for a hassle-free configuration, ensuring your garage door operates smoothly and efficiently.
Selecting Door Profile
Choosing the Right Door Profile Based on Specifications
Before diving into the setup, identify the specifics of your garage door, such as its weight, size, and drum dimensions. Refer to the Chamberlain RJ-0101 manual to determine the appropriate door profile for your setup. This step ensures that the opener is calibrated to your door’s unique characteristics.
Setting the Door Profile Using the Control Panel
Navigate to the control panel and initiate the process of setting the door profile. Follow the prompts on the display, selecting the door profile that aligns with your garage door specifications. This step ensures that the opener operates with precision, adapting to the specific dynamics of your garage door.
Calibrating Door Travel Limits
Adjusting Travel Limits for Smooth Operation
Fine-tune the travel limits of your garage door for flawless functionality. Hold the up button until the door reaches its fully open position. Repeat the process with the down button until the door is fully closed. This step guarantees that your garage door operates within the defined limits, preventing unnecessary strain on the system.
Self-Calibration Process for Precise Functionality
Allow the Chamberlain RJ-0101 to perform a self-calibration. This intelligent process ensures that the opener adapts to the nuances of your garage door’s movement. The self-calibration feature enhances the accuracy of the system, promoting optimal performance.
Pressure Sensor Calibration
Confirming Pressure Sensors are Correctly Calibrated
Verify that the pressure sensors, crucial for detecting obstacles in the door’s path, are accurately calibrated. This step is paramount for ensuring the safety of your garage door operation. A well-calibrated sensor system prevents accidents and potential damage.
Testing with a 2×4 Obstruction for Safety
Perform a practical test by placing a 2×4 or a similar object in the door’s path during closure. Confirm that the pressure sensors detect the obstruction and prompt an immediate reversal of the door. This real-world test validates the effectiveness of the safety features.
Programming Universal Remote
Step-by-Step Guide to Programming the Universal Remote
For added convenience, program the universal remote to control your Chamberlain RJ-0101. Press the learn button on the wall control panel twice and then press the desired button on the remote. Follow the steps outlined in the manual for a seamless programming experience.
Verifying Successful Programming
Test the programmed remote to ensure it effectively commands the garage door opener. A successful programming session enhances accessibility, allowing you to operate your garage door effortlessly from a distance.
Additional Features
Installing the Overhead Light Module
If you haven’t already, install the overhead light module. This component is not just about illumination; it is integral for app connectivity and additional smart features. Ensure it is securely in place to unlock the full potential of your Chamberlain RJ-0101.
Conclusion
Congratulations! You’ve successfully set up your Chamberlain RJ-0101, transforming your garage into a modern, automated haven. Revel in the benefits of its advanced features, including quiet operation, safety enhancements, and app connectivity.
For ongoing tips and tricks, stay tuned to Scruffs Garage, your go-to resource for all things garage-related. Enjoy the seamless integration and enhanced convenience brought to you by Chamberlain!


