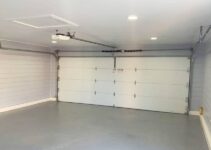
When it comes to transforming garages, the choice of wall materials plays a crucial role in achieving durability, aesthetics, and functionality.
While plasterboard has long held sway as the go-to option, a new contender has emerged that is capturing the attention of homeowners and builders alike: plywood.
In this article, I will share my personal experience and provide original information, research, and analysis to shed light on the benefits of using plywood garage walls.
Join me as we delve into the world of plywood and discover why it has become a smart investment for many homeowners.
You may also like:
1. Understanding Plywood: A Cost-Effective Option
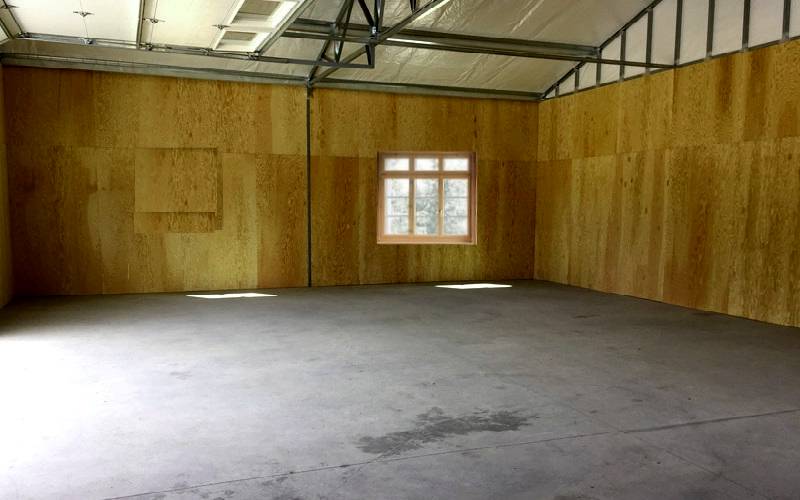
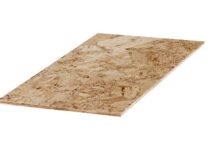
Plywood is a composite wood product made from thin layers of wood veneer glued together. It offers strength, stability, and affordability, making it a popular choice for various applications, including construction and furniture manufacturing. Plywood comes in different grades, with varying levels of durability and aesthetic appeal.
2. Advantages of Plywood for Garage Walls
Plywood presents several advantages when used as garage wall covering:
- Durability: Plywood is known for its strength and resistance to warping, making it ideal for garage environments.
- Affordability: Compared to other wall coverings, plywood is a cost-effective option, especially when considering its longevity.
- Easy Installation: Plywood sheets are relatively easy to install, even for DIY enthusiasts.
- Structural Support: Plywood adds structural stability to the garage walls, allowing for the hanging of shelves, tools, and other items.
- Customizable: Plywood can be cut into various sizes and shapes, allowing for tailored installations to fit any garage space.
Read Also:
What Type of Plywood is Best for Garage Walls?
3. Preparing for Plywood Installation
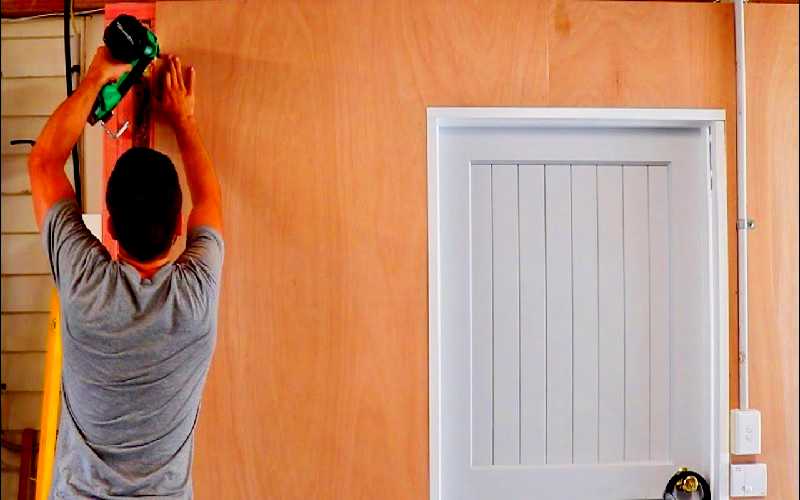
Before installing plywood on your garage walls, it is crucial to prepare the area properly. Here are the essential steps to take:
- Clear the Garage: Remove any items, shelves, or fixtures attached to the walls.
- Inspect and Repair: Check for any damage, moisture, or mold on the existing walls. Repair and clean the surface as needed.
- Measure and Calculate: Measure the wall dimensions accurately to determine the amount of plywood required.
- Gather Tools and Materials: Ensure you have all the necessary tools, including a tape measure, circular saw, drill, screws, and adhesive.
4. Planning the Installation Process
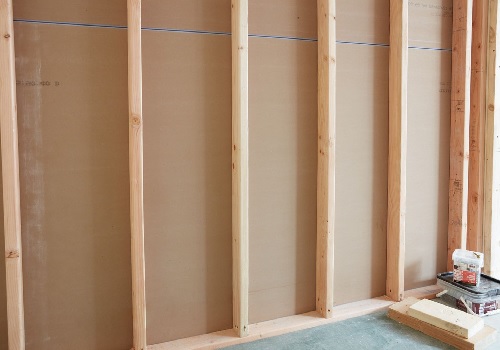
A well-thought-out plan is essential for a successful plywood wall installation. Consider the following factors:
- Layout: Decide whether you will cover the entire wall or only specific sections. Sketch a rough layout to visualize the end result.
- Stud Locations: Identify the stud positions on the wall. This information will help you determine where to attach the plywood sheets securely.
- Panel Orientation: Decide whether you want the plywood panels to be oriented horizontally or vertically. Consider aesthetics and ease of installation.
- Electrical Outlets: Account for electrical outlets and switches on the wall. Make appropriate cutouts in the plywood for seamless integration.
5. Dealing with Structural Elements
Garage walls often have structural elements such as beams or posts that need to be worked around. Here’s how to handle them during plywood installation:
- Planning or Sanding: If a structural element protrudes from the wall surface, use a planer or sandpaper to create a flush surface for the plywood.
- Custom Cuts: Make precise measurements and cutouts in the plywood to accommodate structural elements without compromising the overall installation.
6. Securing Plywood Sheets
To ensure the plywood sheets are securely attached to the garage walls, follow these steps:
- Mark Stud Positions: Use a stud finder to locate the studs and mark their positions on the wall.
- Pre-drill Holes: Pre-drill holes into the plywood sheets to prevent splitting when inserting screws.
- Attach Plywood: Place the plywood against the wall, aligning it with the marked stud positions. Secure the plywood by driving screws through the pre-drilled holes.
7. Versatility of Plywood for Storage
One of the significant advantages of plywood garage walls is the ability to create versatile storage solutions. Here are some ideas:
- Shelving Units: Install sturdy plywood shelves to store tools, boxes, or other items.
- Hanging Hooks: Attach hooks to the plywood walls for hanging bicycles, gardening tools, or sporting equipment.
- Pegboards: Incorporate pegboards into your plywood walls for additional storage and organization options.
Read Also:
Inexpensive Garage Organization Ideas
8. Aesthetic Appeal of Plywood Walls
Contrary to popular belief, plywood can offer an appealing aesthetic when used as a wall covering. Consider the following options to enhance the look of your plywood garage walls:
- Stain or Paint: Apply a stain or paint in your desired color to enhance the natural beauty of the plywood or match your garage’s theme.
- Varnish or Sealant: Apply varnish or sealant to protect the plywood from moisture and give it a polished finish.
- Decorative Finishes: Explore options such as wallpaper, fabric coverings, or decorative moldings to personalize your plywood walls further.
Read Also:
Painting Plywood Walls in Garage
9. Comparing Plywood and Plasterboard
While plasterboard has been a popular choice for garage walls, plywood offers distinct advantages. Let’s compare the two:
- Durability: Plywood is more resistant to impact and less prone to cracking or denting compared to plasterboard.
- Moisture Resistance: Plywood withstands moisture better than plasterboard, reducing the risk of mold and water damage.
- Installation Flexibility: Plywood allows for more versatile installations, including the hanging of heavy objects, shelves, and storage systems.
- Aesthetic Appeal: With proper finishes, plywood can provide a visually pleasing and warm atmosphere compared to the plain appearance of plasterboard.
Read Also:
OSB or Plywood for Garage Shelves
10. Pros and Cons of Plywood Garage Walls
Like any construction material, plywood garage walls have their pros and cons. Consider these factors when deciding whether plywood is right for your garage:
Pros:
- Affordable and cost-effective
- Durable and resistant to warping
- Easy to install, even for DIYers
- Provides structural support for storage options
- Customizable and versatile
Cons:
- Requires proper sealing to prevent moisture damage
- Requires additional finishes for an appealing look
- May have visible grain patterns or imperfections
- Not as effective as plasterboard for soundproofing purposes
Read Also:
Best Material for Garage Walls
11. Maintaining and Cleaning Plywood Walls
Proper maintenance and cleaning of plywood garage walls can extend their lifespan. Follow these tips:
- Regular Dusting: Use a soft cloth or duster to remove dust and debris from the plywood surface.
- Mild Cleaning Solutions: For tougher stains, use a mild soap and water solution to gently clean the plywood.
- Avoid Abrasives: Do not use abrasive cleaners or scrub brushes that may damage the plywood finish.
- Periodic Inspection: Check for signs of moisture, mold, or damage. Address any issues promptly to prevent further deterioration.
12. DIY vs. Professional Installation
Deciding whether to undertake a DIY plywood wall installation or hire a professional depends on your skills, time, and budget. Consider the following factors:
- Skill Level: Assess your comfort level with construction projects and your ability to handle tools and measurements accurately.
- Time Constraints: DIY installations may take longer, especially if you have limited availability. Professionals can complete the job more efficiently.
- Budget: DIY installations can save money on labor costs, but professional installations ensure expertise and a polished result.
13. Tips and Tricks for a Successful Installation
Here are some additional tips and tricks to ensure a successful plywood wall installation:
- Use Proper Safety Gear: Wear safety goggles, gloves, and a dust mask when cutting or handling plywood to protect yourself.
- Secure Plywood Joints: Apply construction adhesive along the joints between plywood sheets for added strength and stability.
- Utilize Corner Guards: Install corner guards or moldings to protect the edges and corners of the plywood walls from damage.
- Consider Insulation: If your garage requires insulation, install it between the studs before attaching the plywood sheets for enhanced energy efficiency.
14. The Role of Plywood Thickness
The thickness of plywood plays a crucial role in its durability and functionality. For garage walls, plywood with a thickness of 1/2 inch (12mm) is commonly used. This thickness provides adequate strength and rigidity for hanging items and ensures stability.
Read Also:
2×4 and Plywood Garage Shelves
15. Enhancing Plywood Walls with Finishes
To enhance the appearance and longevity of plywood walls, consider applying various finishes:
- Stains: Choose a stain color that complements your garage’s aesthetics and allows the natural grain of the plywood to show through.
- Paints: Apply paint for a solid color finish that matches your desired theme or adds a pop of color to the space.
- Sealants: Use a sealant or clear finish to protect the plywood from moisture, stains, and wear while preserving its natural look.
- Textured Finishes: Explore textured finishes, such as faux brick or stone, for a unique and visually appealing effect.
16. Plywood Walls and Beam Alignment
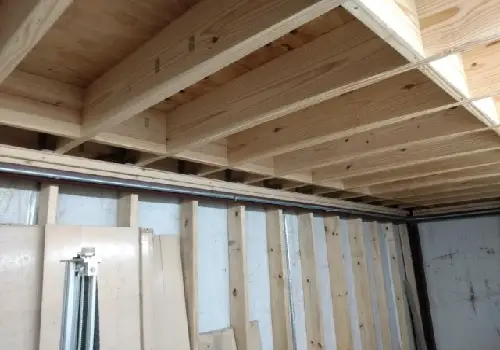
In some cases, beams or other structural elements may protrude further than the existing walls. To achieve a flush look and maintain continuity with the plywood walls, you can:
- Extend the Wall: Build out the existing wall using furring strips or additional framing to align with the protruding beams.
- Custom Cuts: Make precise cuts in the plywood sheets to fit around the beams while maintaining a cohesive appearance.
17. Overcoming Challenges with Plywood Installation
During the installation process, you may encounter challenges that require problem-solving skills. Here are a few common challenges and possible solutions:
- Uneven Walls: Use shims or additional framing to level out uneven walls before attaching the plywood sheets.
- Obstacles and Cutouts: Measure and mark carefully to make accurate cutouts in the plywood for outlets, switches, or other obstacles.
- Large Plywood Sheets: If handling large plywood sheets is challenging, consider enlisting the help of a partner or using a panel carrier for assistance.
18. Completing the Installation Process
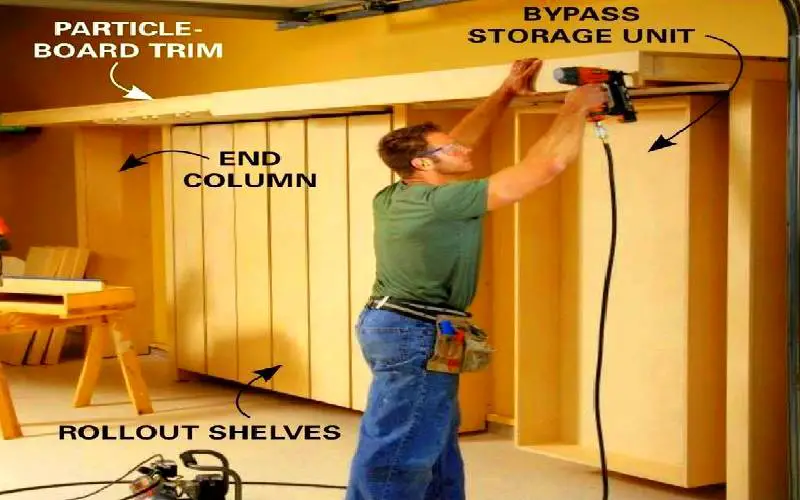
After attaching the plywood sheets and addressing any challenges, complete the installation process with the following steps:
- Inspect and Secure: Check all the screws, ensuring they are tight and secure. Double-check the alignment and overall stability of the plywood walls.
- Apply Finishing Touches: Fill any visible screw holes or gaps with wood filler and sand them smooth. Wipe down the plywood surfaces to remove any dust or debris.
- Add Trim or Moldings: Install trim or moldings along the edges and corners of the plywood walls for a finished look.
- Final Finishes: Apply your chosen finishes, such as stains, paints, or sealants, to protect and enhance the appearance of the plywood walls.
19. Conclusion
Plywood garage walls offer a durable, cost-effective, and visually appealing solution for homeowners. With proper planning, preparation, and installation techniques, plywood can transform your garage into a functional and stylish space.
Consider the advantages, customization options, and maintenance requirements when deciding if plywood is the right choice for your garage walls. Whether you choose to take on a DIY project or hire a professional, plywood walls can provide a long-lasting and practical solution for your garage.
