How to fix garage door gap
The onset of seasonal changes often brings unexpected challenges, and one such inconvenience many homeowners face is the emergence of gaps at the bottom of their garage doors. This seemingly small issue, when overlooked, can lead to cold drafts infiltrating the garage, compromising its insulation and comfort.
in this article, I aim to provide you with a step-by-step walkthrough on addressing and rectifying this common problem, ensuring not only the elimination of the irritating gap but also the creation of a snug and weather-tight seal for your garage.
Assessing the Issue
1. Identifying Seal Damage
Before diving into the process of fixing the garage door gap, it’s crucial to conduct a thorough assessment of your existing garage door seal. This initial step involves inspecting the condition of the seal to identify any signs of wear and tear that might be contributing to the gap issue.
Check the condition of your garage door seal.
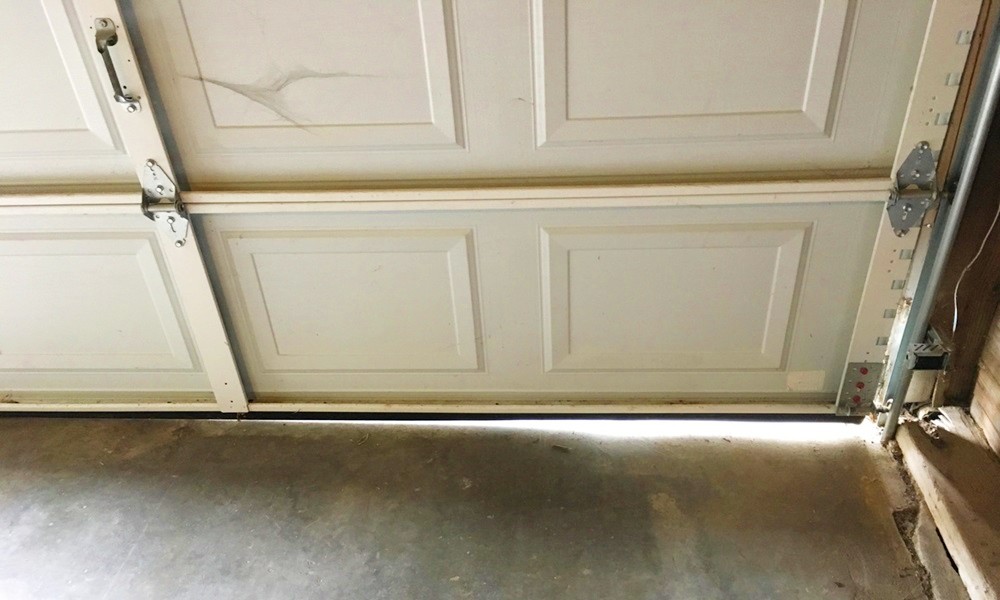
Take a close look at the seal running along the bottom of garage door. Ensure it is intact and properly aligned. Look for any visible wear, cracks, or deformities that could compromise its effectiveness.
Look for signs of drying, ripping, or missing pieces.
Run your fingers along the seal, paying attention to its texture and flexibility. Dry, brittle, or cracked sections indicate aging and may be contributing to the gap. Additionally, check for any areas where the seal might be ripped or where pieces may be missing, as these can significantly impact its ability to create a proper barrier.
2. Replacing Damaged Seals
If your assessment reveals that your garage door seal is indeed damaged, it’s time to consider a replacement. This step is crucial to ensure that the subsequent adjustments and fine-tuning will be effective in achieving a seamless seal.
Refer to a tutorial video for step-by-step seal replacement.
To make the replacement process smoother, seek out tutorial videos that provide a detailed, step-by-step guide on replacing garage door seals. Visual aids can be incredibly helpful in understanding the intricacies of the task and ensuring you execute each step accurately.
Ensure you start with a high-quality seal for effective results.
When choosing a replacement seal, prioritize quality. Opt for seals made from durable materials that can withstand weather changes and regular usage. Investing in a high-quality seal ensures longevity and effectiveness, reducing the likelihood of facing similar issues in the future.
Making Adjustments to the Garage Door Opener
3. Locating Adjustment Points
Now that we’ve assessed the condition of the garage door seal, it’s time to move on to making precise adjustments to the garage door opener. This step is crucial in ensuring that the door operates smoothly and, most importantly, that the seal is snugly pressed against the garage floor.
Open the light cover of the garage door opener.
Begin by accessing the internal components of your garage door opener. Open the light cover to reveal the intricate mechanisms within. This step is essential for gaining clear visibility and access to the adjustment points.
Identify the adjustments on the left-hand side.
Focus your attention on the left-hand side of the opener. Here, you will find the specific adjustment points that allow you to tailor the door’s behavior. These adjustments play a pivotal role in determining how the door descends and establishes contact with the floor.
4. Understanding the Chamberlain Whisper Drive Model
Specifics of the HD 600 DM model.
For those utilizing the Chamberlain Whisper Drive HD 600 DM model, understanding its unique features is crucial. Familiarize yourself with the model’s specifications, as this knowledge will guide you through the adjustment process.
Recognizing the down-travel adjustment screws.
Within the housing of the garage door opener, identify the down-travel adjustment screws. These screws, although small, hold the key to fine-tuning the descent of your garage door. Being offset, they play a crucial role in adjusting the contact points that influence the door’s stopping position.
5. Adjusting the Down Position
Turn the screws slightly in the counter-clockwise direction.
To address the gap issue, make small adjustments by turning the down-travel adjustment screws in the counter-clockwise direction. This adjustment influences the contact points, allowing the door to descend a bit further and establish a more effective seal.
Lift the garage door to assess the seal’s contact with the concrete.
After the adjustment, physically lift the garage door and gently lower it back down. This action will help you assess whether the seal now makes proper contact with the concrete floor, minimizing or eliminating the gap.
6. Using Paper Towels for Precision
Place paper towels along the door’s length to gauge seal contact.
For precision, place paper towels or shop towels along the length of the garage door before making adjustments. These towels will serve as indicators, helping you gauge the seal’s contact points before and after adjustments.
Fine-tune adjustments until there is consistent pressure.
Make incremental adjustments while observing the pressure on the paper towels. The goal is to achieve consistent pressure across the entire length of the door, ensuring an effective and uniform seal.
7. Checking Seal Compression
Confirm the seal compression by attempting to pull out the towels.
After adjustments, attempt to pull out the paper towels. If the seal is effectively compressed, you should feel resistance, indicating a tight seal.
Ensure uniform pressure across the entire door.
Ensure that the pressure on the paper towels is uniform across the entire door. This step is crucial for addressing any irregularities and ensuring a complete seal.
8. Addressing the Closed Force Adjustment
If the door bounces back up, adjust the closed force dial.
In some instances, adjusting the down-travel screws may affect the door’s ability to stay closed. If the door bounces back up, locate the closed force adjustment on the circuit board. This adjustment allows you to fine-tune the force exerted by the garage door opener when closing.
Increase force to keep the seal compressed.
Gradually increase the closed force to ensure that the seal remains compressed upon closing. This adjustment is essential for preventing the door from bouncing back, guaranteeing a secure and weather-tight seal.
Fine-Tuning for a Perfect Seal
9. Considering Ground Contact
Note potential ground contact during adjustments.
As you fine-tune the adjustments to address the garage door gap, it’s crucial to pay close attention to potential ground contact. While adjusting the down-travel screws, be mindful of any points where the door may come into contact with the ground. This contact is essential for creating a secure seal but may require additional force for optimal results.
Apply additional force if necessary for a secure seal.
If, during the adjustment process, you observe that certain areas of the door are not making sufficient contact with the ground, consider applying additional force. This extra force ensures that the seal is consistently pressed against the floor, leaving no room for gaps or drafts.
10. Balancing Open Force
Adjust the open force if needed for a balanced operation.
Achieving a perfect seal is not only about the door’s descent but also its ascent. If the open force is not appropriately balanced, the door might bounce back after closing, compromising the seal. To prevent this, focus on adjusting the open force to guarantee a smooth and balanced operation.
Prevent the door from bouncing back after closing.
If the door exhibits a tendency to bounce back, it’s an indication that the open force needs adjustment. Locate the open force adjustment on the garage door opener’s circuit board and make incremental changes. The goal is to find the right balance where the door opens smoothly and closes securely without rebounding.
Conclusion
By diligently following these fine-tuning steps, you’ve successfully addressed the garage door gap issue and ensured a perfect seal. Your garage is now not only well-insulated but also protected from the elements. Regularly monitor the door’s operation to ensure that the adjustments hold up over time.
Remember, a well-sealed garage door not only enhances energy efficiency but also contributes to the overall security and comfort of your home. Enjoy the benefits of a draft-free space and the peace of mind that comes with a garage door that operates seamlessly.
For more insightful home repair tips and valuable information, don’t forget to subscribe to our channel. We’re dedicated to providing you with the knowledge you need to maintain and enhance your living space.


