433MHz Cloning Remote Instructions: A Comprehensive Guide
Are you tired of manually programming each remote for your garage door, gate, or other device? The solution to this […]
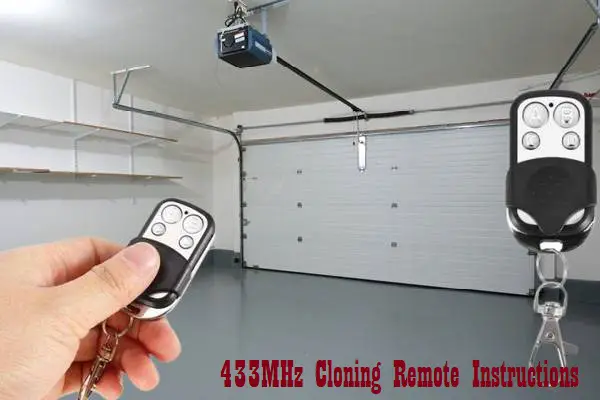
Are you tired of manually programming each remote for your garage door, gate, or other device? The solution to this problem is cloning your existing remote to a new one.
With the use of a 433MHz cloning remote, you can easily copy the signal from your original remote and use it on multiple devices. This guide will provide you with step-by-step instructions on how to clone a 433MHz remote.
What is a 433MHz Cloning Remote?
A 433MHz cloning remote is a device that allows you to transfer the code from one remote to another. This is a convenient solution for those who want to use multiple devices with the same remote control, or for those who have lost their original remote and need a replacement.
Why Choose a 433MHz Cloning Remote?

There are several benefits to using a 433MHz cloning remote. Firstly, it saves you time and effort by eliminating the need to manually program each remote.
Secondly, it ensures that all your devices are compatible with the same remote control, making it easier to operate them all. Finally, it offers you a cost-effective solution as you do not need to purchase multiple remote controls for each device.
What Do You Need to Clone a 433MHz Remote?
Before you start cloning your remote, you need to make sure you have the following items:
- A 433MHz cloning remote
- Your original remote
- A stable power source (such as a 9V battery)
Step-by-Step Guide to Cloning a 433MHz Remote
Follow these simple steps to clone your 433MHz remote:
- Locate the cloning button on your 433MHz cloning remote. This is usually located on the back or side of the device.
- Insert the battery into the cloning remote and turn it on.
- Press and hold the cloning button until the LED light on the remote starts flashing. This indicates that the remote is in cloning mode.
- Place your original remote and the cloning remote close to each other, with the buttons facing each other.
- Press and hold the button on your original remote that you want to clone. Hold it until the LED light on the cloning remote stops flashing. This indicates that the signal has been successfully copied.
- Repeat the process for any additional buttons you want to clone.
- Once you have finished cloning all the buttons, turn off the cloning remote and remove the battery.
Common Issues When Cloning 433MHz Remotes
Although cloning a 433MHz remote is relatively straightforward, there are some common issues that you may encounter during the cloning process. Some of the most common issues include:
- Signal interference: Interference from other devices or sources can disrupt the cloning process and prevent the signal from being received. To avoid this, make sure to turn off any other devices that may be causing interference, and ensure that the cloning device and original remote control are close together.
- Incompatible devices: Not all 433MHz remotes are compatible with all cloning devices, so it’s important to make sure that your cloning device is compatible with your original remote control before attempting to clone it.
- Incorrect button programming: If the cloning process doesn’t seem to be working, you may have programmed the wrong button. Double-check that you are cloning the correct button, and try the process again if necessary.
Tips for Successful Cloning
Here are some tips to ensure that your cloning process goes smoothly:
- Make sure that both the original remote and the cloning remote are close to each other when cloning.
- Ensure that the battery in the cloning remote is fresh and has enough power.
- Press and hold the button on the original remote firmly to ensure that the signal is successfully copied.
Troubleshooting Common Problems
If you experience any issues while cloning your remote, here are some solutions to common problems:
- If the LED light on the cloning remote does not start flashing, it may be due to a dead battery. Replace the battery and try again.
- If the LED light on the cloning remote stops flashing prematurely, it may indicate that the cloning process has failed. Try cloning the button again, making sure that the original remote and cloning remote are close to each other.
- If you are unable to clone the button, it may be due to the remote being incompatible with the cloning remote. Check the specifications of both devices to make sure they are compatible.
Conclusion
Cloning a 433MHz remote is a convenient way to duplicate the signal of an existing remote control, allowing you to use one remote to control multiple devices. By following the steps outlined in this guide, you can successfully clone your 433MHz remote and avoid common issues during the cloning process.
If you encounter any problems during the cloning process, don’t hesitate to seek assistance from a professional, as they will be able to help you troubleshoot the issue and ensure a successful cloning process.
