Trellis Over Garage Door
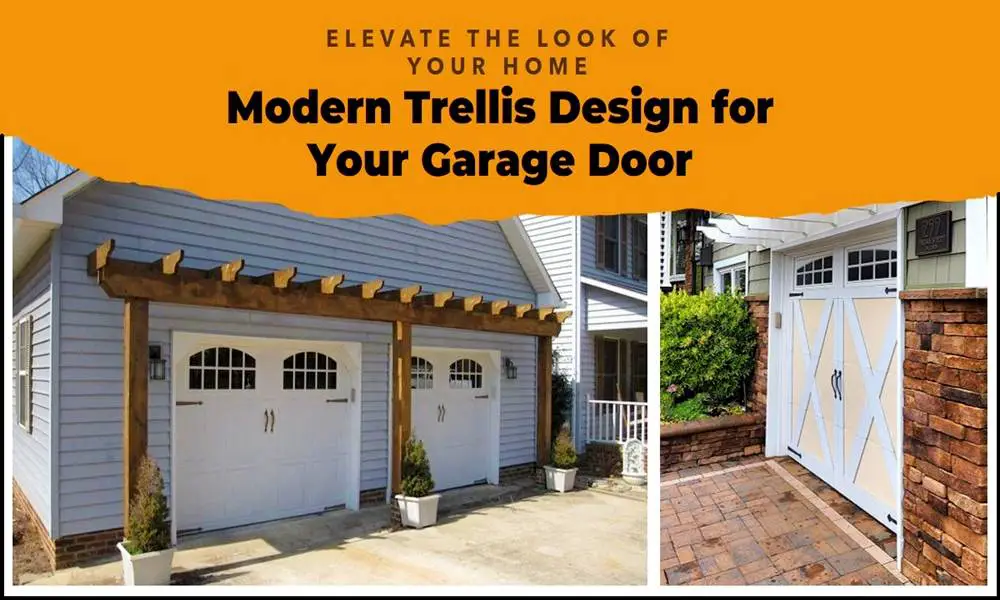
Adding a trellis over garage door can elevate the overall look of your home’s exterior while also serving practical purposes. This addition not only enhances the architectural appeal but also creates an inviting entrance that welcomes both residents and guests. Throughout this guide, I will provide a detailed process for building a garage pergola, breaking down each step for your convenience.
What is a Trellis and Its Purpose?
A trellis is a framework typically crafted from wood or metal, designed to support climbing plants such as vines and flowers. Beyond its decorative function, a trellis serves practical purposes by offering a sturdy structure for vegetation to grow, adding a touch of greenery to any space. When positioned above a garage door, a trellis transforms an ordinary facade into a captivating focal point, enhancing the visual appeal of your home’s exterior.
Benefits of Adding a Trellis Over Garage Door
- Enhanced Curb Appeal: A well-designed trellis adds character and charm to your home’s exterior, increasing its overall curb appeal.
- Increased Property Value: The addition of a garage pergola can enhance the perceived value of your property, making it more attractive to potential buyers.
- Shade and Privacy: Depending on the design, a trellis can provide shade and privacy, creating a more comfortable outdoor space.
- Customization Options: Trellises come in various styles and materials, allowing you to customize the look to suit your home’s architecture and your personal taste.
How to build a trellis over garage door
Designing the Rafter Tail
- Prepare the Work Surface: Begin by clamping a 2×4 board securely to your work surface. This will provide stability and ensure accurate measurements.
- Marking the Lines: Using a measuring tape and pencil, mark lines across the board according to your desired rafter tail dimensions. Typically, you’ll mark lines 1 inch and 4 inches from the end of the board.
- Creating the Curved Detail: Place a paint can or another circular object on the board to create the curved detail on the rafter tail. Position the can so that its arc connects the mark on the 1-inch line to the point where the 4-inch line meets the bottom edge of the rafter. Trace along the arc with a pencil.
- Cutting the Tails: Carefully follow the traced line with a jigsaw to shape the rafter tail. Take your time to ensure smooth and precise cuts. Once the first tail is cut, use it as a template to mark and shape the remaining tails on other boards.
- Sanding: After cutting, lightly sand the curved cuts using 120-grit sandpaper. This will smooth out any rough edges and give the rafter tails a polished finish.
Cutting the Tails
- Following the Traced Lines: Using a jigsaw, carefully cut along the traced lines to shape the rafter tails. Ensure that your cuts are accurate and follow the curves smoothly.
- Using the Template: Once the first tail is cut, use it as a template to mark and shape the uncut ends of the other boards. This will help maintain consistency in the size and shape of the rafter tails.
- Sanding: After cutting, use 120-grit sandpaper to sand the curved cuts lightly. This step is essential for achieving a professional-looking finish on your rafter tails.
Shaping the Purlins
- Drawing the Line: Take a 2×2 board and use a combination square to draw a 45-degree line across one corner, approximately ½ inch below its top edge. This angled cut will create the decorative detail on the purlins.
- Making the Cuts: Set the blade of a miter saw to a 45-degree angle. Position the board along the fence of the saw and align the mark with the blade. Cut along the line to create the angled corner. Repeat this process for the remaining pieces of the 2×2 board.
- Sanding and Finishing: Lightly sand the purlins with 120-grit sandpaper to smooth out any rough edges. Once sanded, stain or paint the purlins to match your desired finish and enhance their durability.
Installing the Pergola
- Mounting Brackets: Begin by mounting ready-made brackets to the garage door’s casing and the framing behind it. Ensure that the brackets are securely attached and level to provide stable support for the pergola.
- Attaching Rafters and Purlins: Once the brackets are in place, attach an assembly of rafters (2×4 pressure-treated boards) and purlins (2×2 pressure-treated balusters) to create the framework of the pergola. Position the rafters and purlins according to your design preferences, ensuring they complement your home’s existing trim.
- Securing the Pergola: Ensure that the pergola is securely attached to the brackets and framing. Use appropriate fasteners to prevent any movement or instability. Double-check that the pergola is level to maintain its aesthetic appeal.
Conclusion
Installing a trellis over garage door offers numerous benefits beyond just aesthetic enhancement. It serves as a practical solution to provide shade during hot summer months, offering a cooler environment for your vehicles and reducing energy costs by minimizing heat absorption. The trellis can create a sense of privacy, shielding your garage and home from direct view while still allowing airflow and natural light to filter through.
Moreover, the customization options are virtually endless, allowing you to tailor the design to match your home’s architectural style and personal preferences. Whether you prefer a rustic wooden trellis adorned with climbing vines or a sleek metal structure with minimalist appeal, the choice is yours.
FAQs
What materials are commonly used for building a garage pergola?
Common materials for building a garage pergola include pressure-treated wood, cedar, metal, and vinyl. Each material offers different aesthetic and durability characteristics, allowing homeowners to choose based on their preferences and budget.
Do I need professional help to install a trellis over my garage door?
While installing a trellis over a garage door can be a DIY project for those with carpentry skills, hiring a professional installer is recommended for those who lack experience or tools. Professional help ensures proper installation, maximizing safety and longevity.
Can a garage pergola add value to my home?
Yes, a well-designed and properly installed garage pergola can enhance the curb appeal of your home, potentially increasing its overall value. Buyers often appreciate unique architectural features like pergolas, making your property more attractive to potential buyers.
How do I maintain a garage pergola over time?
Regular maintenance is key to preserving the appearance and structural integrity of a garage pergola. Tasks may include cleaning debris from the trellis, inspecting for signs of damage or wear, and refinishing or repainting as needed to protect against weathering.
Are there alternative designs for garage pergolas?
Yes, there are numerous alternative designs for garage pergolas, ranging from traditional to modern styles. Some options include arched pergolas, lattice designs, gable pergolas, and freestanding structures. Homeowners can choose a design that complements their home’s architecture and personal taste.


