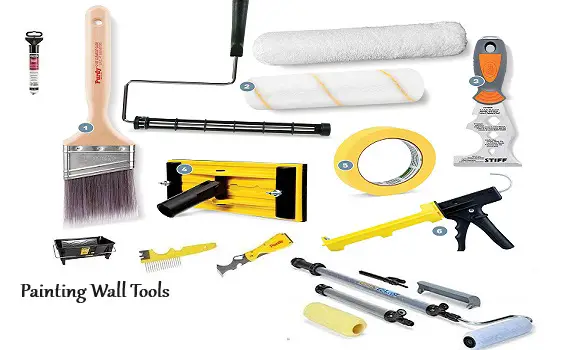
Painting Wall Tools
When it comes to transforming the look and feel of your living spaces, few things can have as significant an impact as a fresh coat of paint.
However, to achieve a professional finish, it’s crucial to use the right painting tools. In this comprehensive guide, We’ll share painting wall tools based on the research we’ve done, covering everything from rollers and brushes to trays, paint sprayers, extension poles and drop cloths.
Whether you’re a seasoned DIY enthusiast or a beginner looking to tackle your first painting project, read on to discover the essential tools and techniques that will help you paint your walls like a pro.
Why is it important to use the right painting tools?
Before we dive into the specifics of painting tools, it’s essential to understand why using the right ones matters.
The tools you choose can significantly impact the outcome of your project.
Quality tools not only make the job easier but also ensure a smoother, more professional finish. They can save you time, reduce frustration, and help you achieve the desired results.
What are the different types of painting tools available?
Painting tools come in various forms, each serving a specific purpose. Here’s an overview of the key tools you’ll need for a successful wall-painting project:
Drop Cloths – Paint Supplies – Protect Your Floors and Furniture from Paint Spills
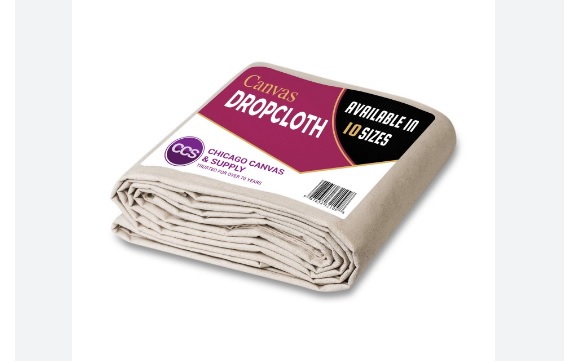
When it comes to painting, spills and splatters are almost inevitable. That’s where drop cloths come to the rescue.
These protective covers act as a barrier between your floors, furniture, and any stray paint. By using drop cloths strategically, you can minimize cleanup and avoid costly damage.
Ladder – Reach High Areas Safely
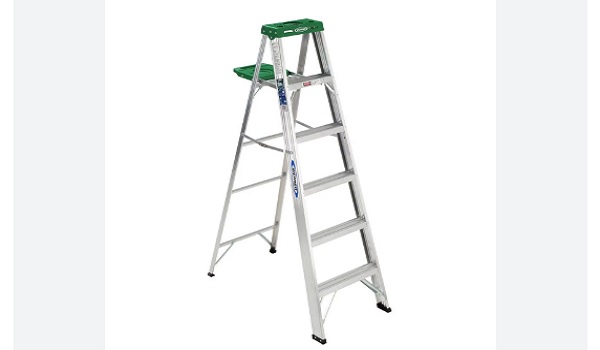
If your painting project involves high ceilings or walls, a sturdy ladder is a must-have. Safety should be a top priority, so ensure your ladder is in good condition and placed on a stable surface.
This tool allows you to reach areas that are otherwise inaccessible, ensuring a complete and uniform paint job.
Masking Master – Tape Off Areas You Don’t Want to Paint
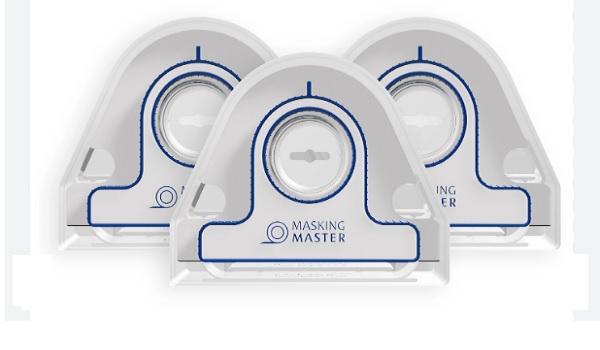
Achieving clean lines and crisp edges is a hallmark of professional painting. The masking master, also known as painter’s tape, allows you to tape off areas you don’t want to paint, such as trim, windows, and doors.
It ensures that your paint goes exactly where you intend it to, giving your project a polished and finished look.
5-in-1 Painter’s Tool – Scrape, Smooth, Sand, and Caulk Surfaces in Preparation for Painting
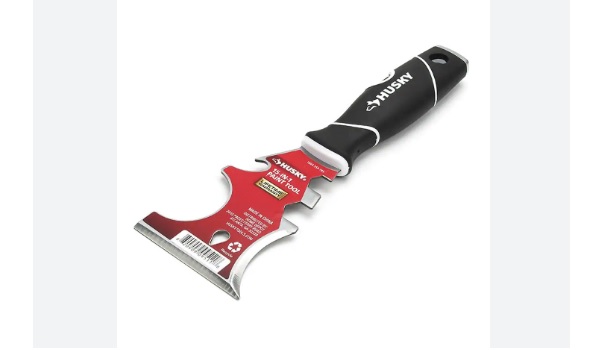
Preparation is key to a successful painting project, and the 5-in-1 painter’s tool is a versatile ally in this regard. With its ability to scrape off old paint, smooth rough surfaces, sand imperfections, and apply caulk, this tool helps you achieve a smooth canvas for your paint.
Putty Knife – Fill in Holes and Cracks in Surfaces
Before painting, it’s essential to address any holes or cracks in your walls. A putty knife, combined with filler compound, allows you to fill in these imperfections seamlessly. Once dry, you can sand the surface to create a flawless backdrop for your paint.
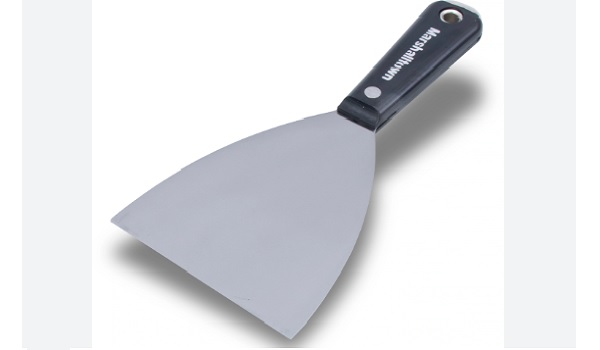
Taping Knife – Taper Over Putty Knife Repairs to Create a Smooth Surface

After using a putty knife to fill in holes and cracks, a taping knife comes into play to create a smooth and even surface. It tapers over the repairs, ensuring that the transition between the repaired areas and the rest of the wall is virtually invisible.
Super-Sized Paint Tray – Hold More Paint for Less Frequent Refilling
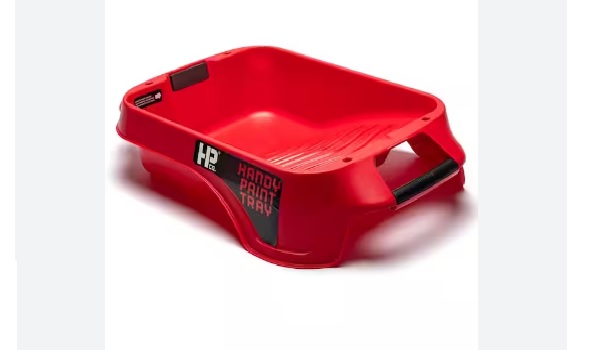
Refilling your paint tray can be a time-consuming task, interrupting your workflow. A super-sized paint tray allows you to hold a more substantial amount of paint, reducing the need for frequent refills. This efficiency boost can help you complete your painting project more swiftly.
Slobproof Refillable Paint Brush Pens – Paint Small Areas or Touch Up Mistakes Without Making a Mess
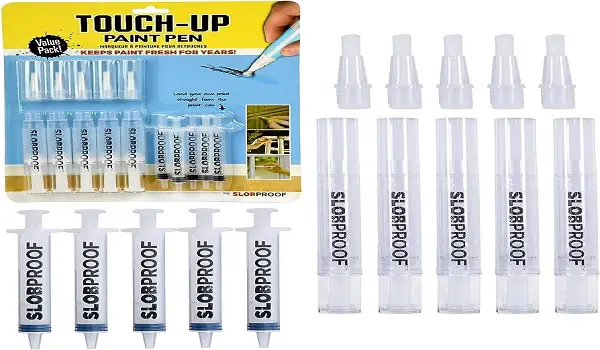
For precision work and touch-ups, slobproof refillable paint brush pens are a game-changer. These handy tools are perfect for painting small areas or fixing mistakes without creating a mess. Their refillable design ensures you always have the right paint at your fingertips.
Sherwin-Williams Paint Stick – Stir Paint Thoroughly to Ensure an Even Color
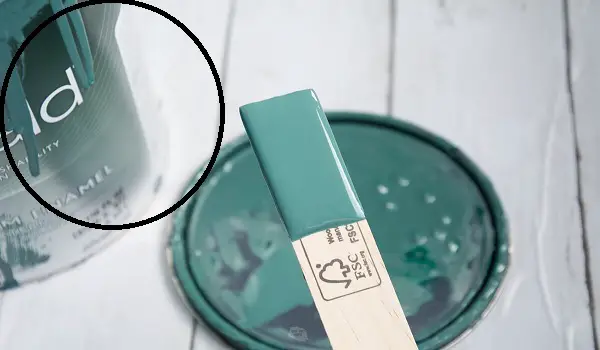
Consistency in paint color is vital for a professional finish. The Sherwin-Williams paint stick is designed to stir paint thoroughly, ensuring an even color throughout your project. This simple yet effective tool can make a significant difference in the final outcome.
Renovator Paint Runner Pro – Paint Large Areas Quickly and Easily with a Roller
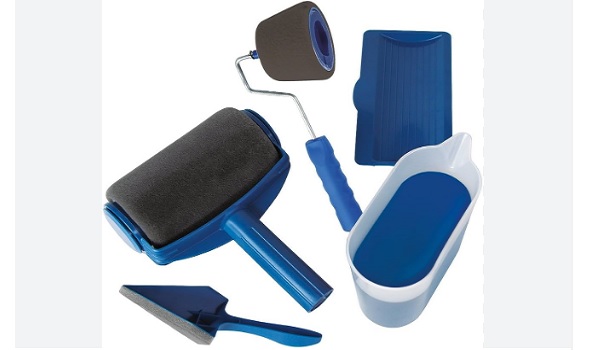
When it comes to covering large wall surfaces quickly and efficiently, the Renovator Paint Runner Pro is a top choice. This innovative roller system allows you to paint large areas with ease, reducing the time and effort required for your project.
Purdy Power Lock Extension Pole – Paint High Areas Without Having to Climb a Ladder
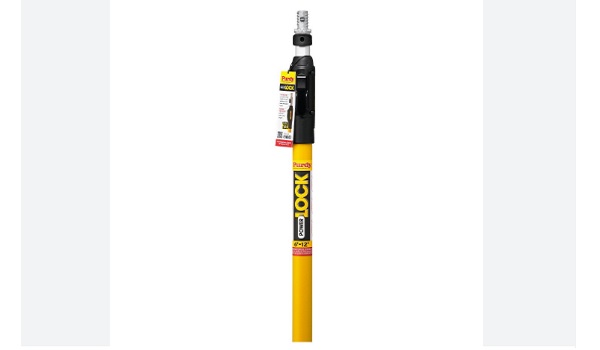
For those hard-to-reach high areas, the Purdy Power Lock Extension Pole is a must-have tool. It attaches to your roller or brush, providing the extra reach needed to paint ceilings and tall walls safely and effectively.
Shoreline Touch-Up Painter – Touch Up Small Areas with a Precision Brush
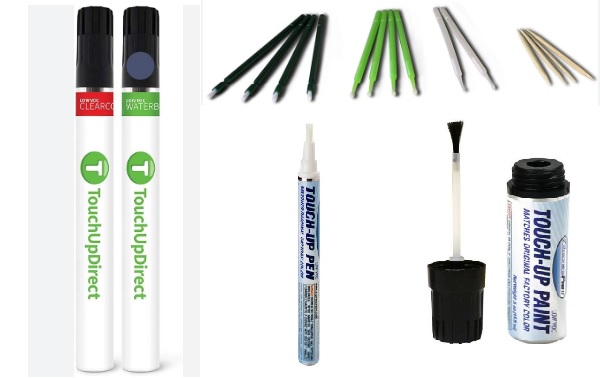
Perfecting small details and touch-ups is made simple with the Shoreline Touch-Up Painter. This precision brush tool allows you to target specific areas, ensuring a flawless finish and eliminating the need for extensive touch-up work later on.
HomeRight Finish Max Fine Finish Sprayer – Spray Paint for a Smooth, Professional Finish
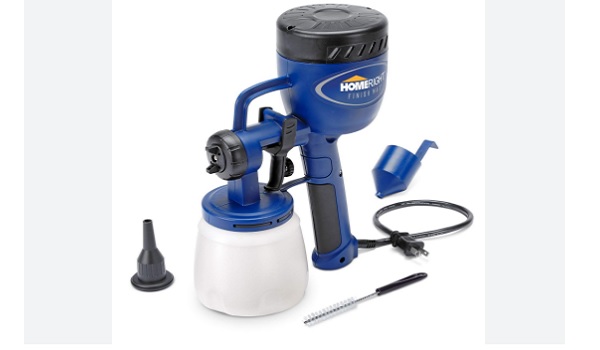
For achieving a smooth and professional finish, especially on large surfaces or furniture, the HomeRight Finish Max Fine Finish Sprayer is a valuable tool. It sprays paint evenly and efficiently, delivering a flawless coat that rivals the work of professional painters.
Paint Edge Protector – Protect Edges from Paint Drips
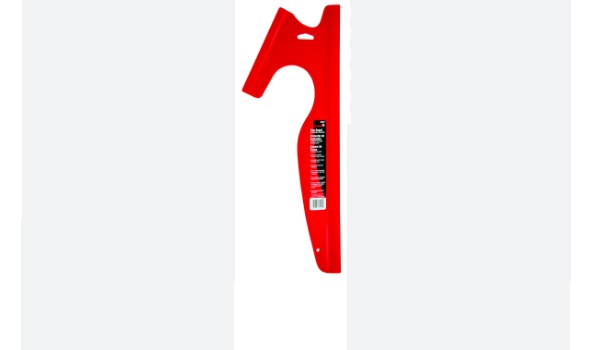
Painting along edges can be tricky, and paint drips are a common issue. A paint edge protector helps you shield edges and corners from paint drips, ensuring clean and drip-free lines.
3M Scotch Delicate Surface Painters Tape – Tape Off Delicate Surfaces Without Damaging Them
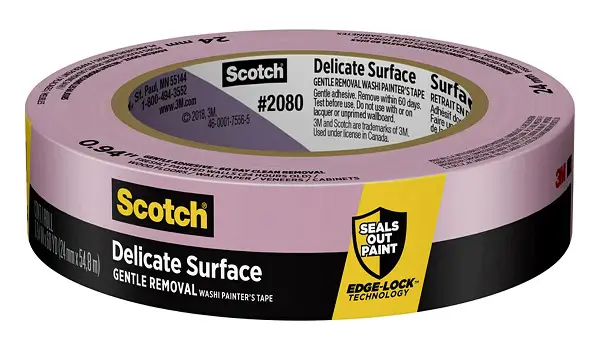
When working on delicate surfaces, such as wallpaper or freshly painted trim, 3M Scotch Delicate Surface Painters Tape is the go-to choice. It provides a reliable barrier without causing damage or leaving residue behind.
Heat Gun – Remove Paint from Surfaces or Dry Paint Quickly
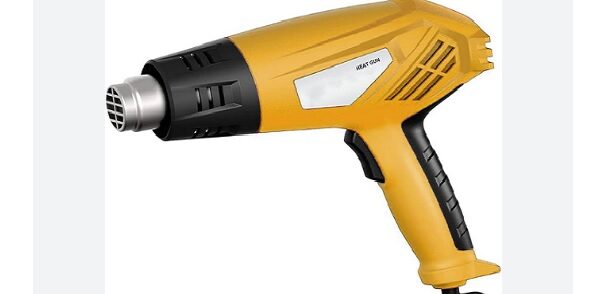
A heat gun is a versatile tool that can be used for various painting tasks. It’s excellent for removing old paint from surfaces, as well as for speeding up the drying process of freshly applied paint.
How to choose the right painting tools for your project
Selecting the right tools for your painting project is crucial for achieving the desired results. Consider the following factors when making your choices:
Roller Size
Choose a roller size that suits your project. Larger rollers cover more significant areas quickly, while smaller ones are ideal for detail work.
Brush Type
Select a brush type that matches your specific needs. For cutting in and trim work, angled brushes work well, while flat brushes are better for broad surfaces.
Quality
Invest in high-quality tools. While they may cost more upfront, they’ll last longer and provide better results.
How to Use Painting Tools Effectively
Now that you’ve acquired your essential painting tools, it’s time to delve into the details of how to use each one effectively.
Mastering these techniques will help you achieve professional results in your wall-painting projects. Let’s explore the step-by-step process for using each tool:
How to Use a Roller
Step 1: Prepare the Roller
Before you begin painting with a roller, ensure that it’s securely attached to the roller frame. If you’re working on high walls or ceilings, consider attaching an extension pole to the roller for added reach and stability. Properly securing the roller ensures you have full control during the painting process.
Step 2: Load the Roller
To load the roller with paint, follow these steps:
- Dip the roller into the paint tray, submerging it in the paint.
- Roll the roller back and forth within the tray to evenly distribute the paint. This ensures that the roller is properly saturated and ready to apply paint to the wall.
Step 3: Apply the Paint
Now that your roller is loaded and ready, it’s time to apply the paint to the wall. Here’s how:
- Start from the top of the wall, near the ceiling.
- Roll the paint onto the surface in a “W” or “M” pattern. This pattern helps ensure even coverage and minimizes streaks or lines.
- Work your way down the wall, overlapping each pass slightly with the previous one.
- Continue this process until the entire area is covered. Be mindful of maintaining a consistent pressure on the roller to achieve a uniform finish.
How to Use a Brush
Step 1: Choose the Right Brush
Selecting the appropriate brush for your painting task is crucial. Different brushes are designed for various purposes. Follow these guidelines:
- For cutting in around edges, corners, and trim, choose a brush with angled bristles for precise control.
- Ensure that the brush you select is suitable for the type of paint you are using, whether it’s oil-based or water-based.
Step 2: Load the Brush
To prepare the brush for painting, follow these steps:
- Dip the brush into the paint, submerging it about one-third of the bristle length.
- Tap off any excess paint on the rim of the paint can or tray. This prevents drips and ensures a consistent application.
Step 3: Cut In
When cutting in, you’ll be using the brush to paint areas that are difficult to reach with a roller. Follow these guidelines for a clean and precise application:
- Start by painting edges, corners, and trim with steady, even strokes.
- Maintain a consistent paint thickness along the edges to avoid visible variations in texture when you roll the main wall area.
- Feather out the paint slightly into the wall to create a seamless transition between the brushed and rolled sections.
How to Use a Tray
Step 1: Pour the Paint
Using a paint tray is an effective way to manage your paint supply. Here’s what to do:
- Pour a moderate amount of paint into the tray, enough to cover the bottom without overflowing.
- Avoid overfilling the tray, as this can lead to spills and make it challenging to load your roller or brush evenly.
Step 2: Distribute the Paint
When you’re ready to load your roller or brush with paint from the tray:
- Use the roller or brush to pick up paint from the tray.
- Ensure that the paint is evenly distributed on your tool, providing consistent coverage on the wall.
How to Use a Paint Sprayer
Step 1: Prepare the Sprayer
When using a paint sprayer, proper setup is essential for a successful application:
- Follow the manufacturer’s instructions for assembling and preparing the paint sprayer.
- Dilute the paint according to the manufacturer’s recommendations, if necessary, to achieve the right viscosity for spraying.
Step 2: Spray Evenly
To achieve a smooth and even paint application with a sprayer:
- Hold the sprayer at the appropriate distance from the wall, usually about 6 to 12 inches.
- Move the sprayer in smooth, overlapping strokes, much like mowing a lawn. This ensures even coverage and minimizes streaks.
- Keep a consistent speed and distance from the surface to avoid pooling or uneven paint distribution.
How to Use an Extension Pole
Step 1: Attach the Pole
If your project involves high walls or ceilings, attaching an extension pole to your roller or brush is essential:
- Securely attach the extension pole to your chosen tool. Follow the manufacturer’s instructions for proper attachment.
Step 2: Reach High Areas
Using an extension pole allows you to reach high areas with ease and safety:
- Extend the pole to the desired length.
- While maintaining stability and control, use the pole to paint high walls or ceilings.
- The added reach will enable you to cover these areas efficiently and with precision.
How to Use a Drop Cloth
Step 1: Spread the Cloth
To protect your floors and furniture from paint spills and splatters, follow these steps:
- Lay the drop cloth or plastic sheet on the floor, ensuring it covers the entire area you want to protect.
- Unfold the cloth completely to maximize coverage.
Step 2: Secure It
Prevent the drop cloth from moving or shifting during your painting project:
- Use painter’s tape to secure the edges of the drop cloth to the floor or baseboards.
- Alternatively, place heavy objects, such as paint cans or furniture, along the edges to hold the cloth in place.
Tips for Choosing and Using Painting Tools
To further enhance your painting experience, consider the following tips:
How to choose the right roller size
- For small rooms or detailed work, opt for a 7- to 9-inch roller.
- For larger areas, choose a 14- to 18-inch roller for efficiency.
- Use a shorter nap roller (1/4 inch) for smooth surfaces and a longer nap (3/8 to 1/2 inch) for textured walls.
How to choose the right brush type
- Angled brushes are excellent for cutting in and detail work.
- Flat brushes work well for broader surfaces.
- Natural bristle brushes are suitable for oil-based paints, while synthetic brushes are better for water-based paints.
How to clean and care for your painting tools
- Clean your brushes and rollers thoroughly after each use with the appropriate cleaning solution.
- Store brushes vertically to maintain their shape.
- Replace worn-out tools to ensure consistent results.
Conclusion
In summary, the right painting tools are the cornerstone of a successful wall-painting project. Whether you choose rollers for speed or brushes for precision, knowing how to use them correctly is essential.
Don’t forget the supporting players like trays, extension poles, and drop cloths, which contribute to a cleaner and more efficient process.
By following our guide and considering factors like roller size and brush type, you’ll be well-equipped to tackle your next painting project with confidence.
So, go ahead and transform your living spaces with a fresh coat of paint, armed with the knowledge and the essential painting wall tools you need.
Remember, choosing the right painting wall tools can make all the difference in achieving a professional finish for your walls. Happy painting!