Are you tired of dealing with a messy room and struggling to find the right storage solution?
Look no further than the painted pegboard walls. As someone who has personally benefited from this innovative storage solution, I can attest to its effectiveness in not only organizing your things but also adding a touch of creativity and style to your living or den.
In this article, I’ll share my experience and provide useful information on the various benefits of painted pegboard walls, the step-by-step process for creating them, and valuable tips for optimizing their function and visual appeal.
Benefits of a Painted Pegboard Wall

Efficient Organization
The primary purpose of a pegboard wall is to provide an organized storage system.
I’ve personally experienced the convenience of hanging hooks, shelves, and containers on the pegboard to keep items neatly arranged and easily accessible.
Whether it’s tools, kitchen utensils, craft supplies, or office essentials, everything finds its designated place, saving you time and reducing stress.
Maximized Space
One remarkable advantage of a pegboard wall is its ability to maximize space utilization.
Unlike traditional shelving units or cabinets, a pegboard wall takes full advantage of vertical space, allowing you to store items without sacrificing valuable floor or countertop area.
It’s an efficient way to make the most of your available space.
Versatility
I’ve found pegboard walls to be incredibly versatile. The ability to customize them according to your specific needs is truly remarkable.
By adding or removing hooks, shelves, and other accessories, you can tailor the pegboard wall to suit your requirements.
It adapts effortlessly to various purposes and accommodates different types of items, ensuring a practical solution for any situation.
Enhanced Aesthetics
Beyond its practicality, a painted pegboard wall adds a visual appeal to any space.
By selecting the right color and design, you can transform a plain wall into a statement piece that complements your overall interior or branding.
It’s a unique blend of functionality and aesthetics that elevates the visual appeal of your space.
Step-by-Step Guide to Creating a Painted Pegboard Wall
Now, let me guide you through the process of creating your own painted pegboard wall. With my firsthand experience, I can assure you that it’s a relatively straightforward endeavor that will revolutionize your space.
Choosing the Right Pegboard
Before you start, it’s essential to select the correct type and size of pegboard for your project. Take into account the weight and size of the items you plan to hang on it.
Pegboards come in various dimensions and materials, so choose one that suits your requirements.
Preparing the Wall
Begin by preparing the wall where you intend to mount the pegboard. Ensure it is clean, dry, and free from any obstacles.
If necessary, patch any holes or imperfections and sand the surface to create a smooth base for painting.
Priming and Painting the Pegboard
Apply a coat of primer to the pegboard to enhance paint adhesion and prevent the original color from bleeding through.
Once the primer is dry, choose a paint color that complements your space and apply it evenly to the pegboard using a brush or roller. Allow the paint to dry completely before proceeding.
Mounting the Pegboard on the Wall
Carefully position the pegboard against the wall and secure it using screws or wall anchors. Ensure it is level and tightly attached to the wall for stability.
Consider using spacers or washers between the pegboard and the wall to allow space for hooks or accessories to fit properly.
Adding Hooks and Accessories
The final step involves customizing your pegboard wall by adding hooks, shelves, and other accessories. Select a variety of sizes and shapes to accommodate different items.
Arrange them according to your needs, ensuring a balance between functionality and aesthetics.
Tips for Optimizing Your Painted Pegboard Wall
To make the most of your painted pegboard wall, consider these expert tips:
Group Similar Items Together
Categorize your items and group similar ones together on the pegboard.
This approach makes it easier to locate and access specific items when needed.
Utilize Different Sizes of Hooks
Optimize your storage by using a combination of different hook sizes.
Small hooks work well for lightweight items like keys or jewelry, while larger hooks can hold heavier tools or equipment securely.
Incorporate Decorative Elements
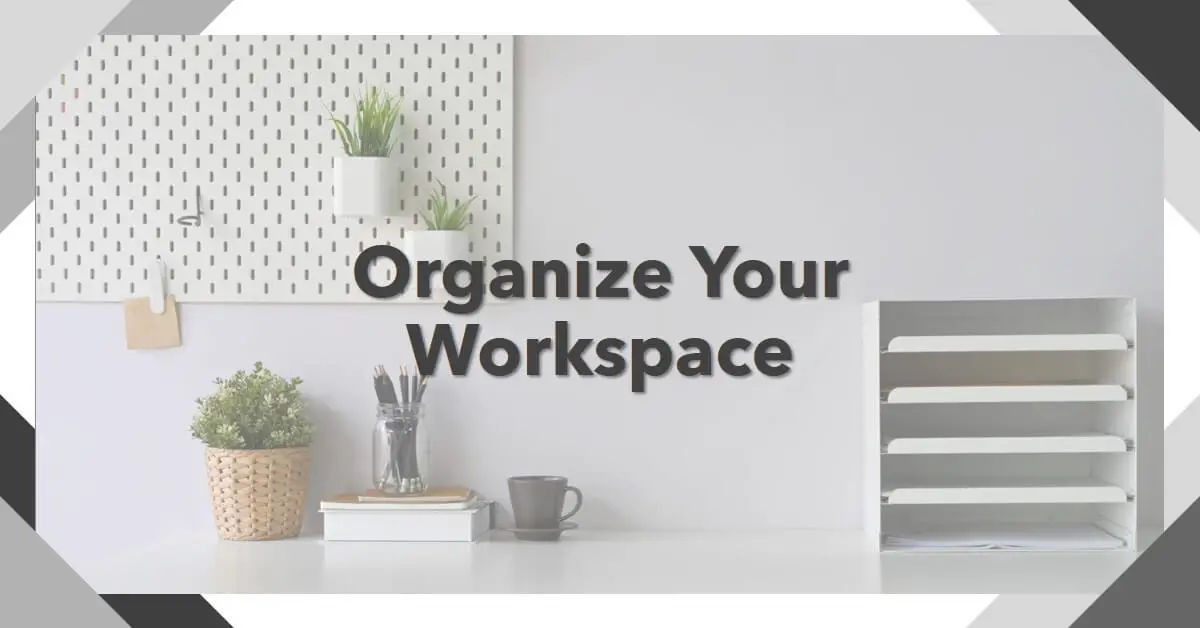
Enhance the visual appeal of your pegboard wall by adding decorative elements such as plants, artwork, or small figurines.
These touches can transform it from a purely functional storage solution into an artistic display that reflects your personal style.
Regularly Rearrange and Reorganize
Don’t be afraid to experiment with different arrangements on your pegboard wall as your needs change over time.
Regularly reorganizing the layout can optimize space utilization and ensure ongoing functionality.
Conclusion
In conclusion, a painted pegboard wall is a practical and stylish solution for organizing your space.
Drawing from my personal experience, I can attest to its efficiency in providing efficient storage, maximizing space utilization, and adding a touch of creativity and visual appeal to any environment.
By following the step-by-step guide and implementing the optimization tips I’ve shared, you can create a personalized pegboard wall that meets your specific needs.
Embrace the versatility and beauty of a painted pegboard wall to transform your space into a well-organized and visually pleasing area.


