In the fast-paced world of 2025, staying organized isn’t just helpful—it’s essential. Whether you work from home, manage a busy household, or simply want to keep your thoughts in order, having a reliable visual organization system can make a world of difference. A DIY corkboard wall offers a highly functional, affordable, and stylish solution to display reminders, to-do lists, inspiration, schedules, photos, and more.
Recently, I completed my own corkboard wall project and was surprised by how much it improved both my productivity and the overall look of my space. In this guide, I’ll walk you through the entire process from planning to installation—and even customization ideas to make it your own.
Why a Corkboard Wall?
Before diving into the “how,” let’s quickly discuss the “why.”
A corkboard wall:
-
Provides a dedicated space for notes, calendars, and visual planning tools.
-
Helps you stay focused and reduce clutter on desks or countertops.
-
Serves as an inspiration board for creatives or a memory wall for families.
-
Adds a textural, natural element to your decor, especially when customized.
It’s especially ideal in home offices, kitchens, kids’ rooms, or entryways where visual reminders are helpful.
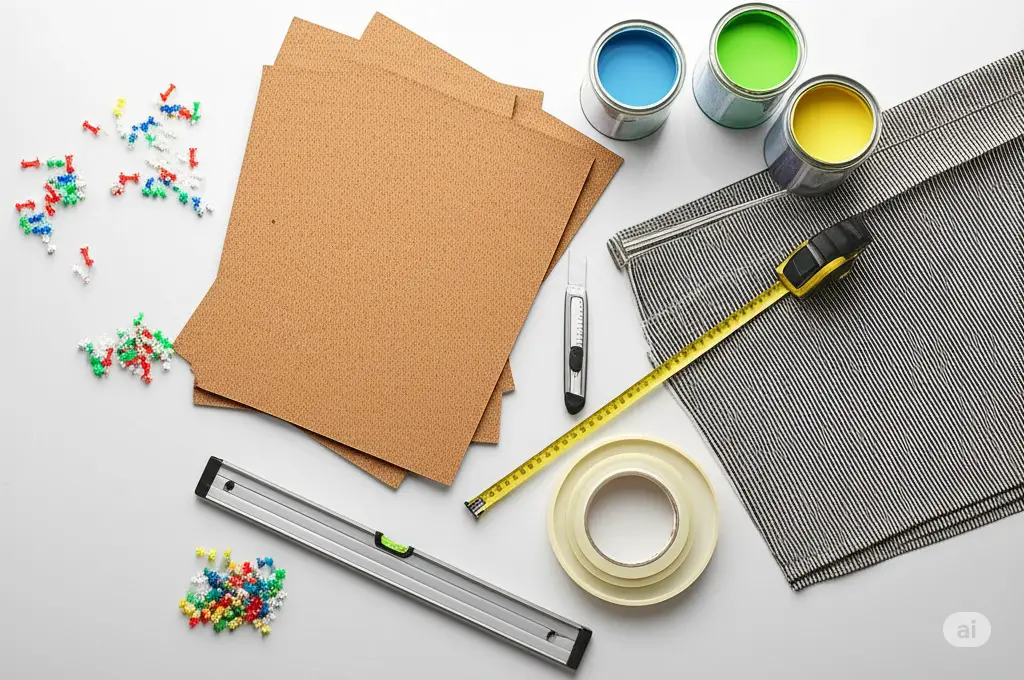
Materials Needed (Updated for 2025)
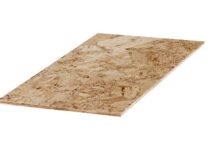
1. Corkboard Material
-
Cork Sheets or Rolls: Available in different thicknesses. Rolls are flexible for covering large areas; sheets offer cleaner edges.
-
Recommended Thickness: 1/4 inch (6mm) or more if you’re pinning heavier items like clipboards or craft materials.
2. Adhesive Options
-
Double-sided Mounting Tape (strong hold, clean removal)
-
Spray Adhesive (great for large areas but requires proper ventilation)
-
Construction Adhesive (for a permanent installation)
⚠️ Tip: Avoid regular glue—it can soak into cork and weaken adhesion.
3. Measuring & Cutting Tools
-
Measuring Tape
-
Level (digital levels or laser levels work best for large areas)
-
Pencil or Chalk
-
Utility Knife or Box Cutter
-
Straight Edge or Metal Ruler
4. Finishing & Styling Tools
-
Push Pins, Thumbtacks, or Decorative Pins
-
Fabric or Paint (optional for customization)
-
Staple Gun (if covering cork with fabric)
Step 1: Preparing the Wall
Taking time to prepare your wall correctly will ensure long-lasting results.
Instructions:
-
Clear the Space: Remove frames, shelves, hooks, and wall hangings.
-
Clean Thoroughly: Wipe the wall with a damp cloth to eliminate dust, grease, or old adhesive residue.
-
Smooth the Surface: Sand down bumps or patch holes with spackle. Allow to dry fully.
-
Mark Your Area: Using a level, draw a light outline of the area where you’ll install the corkboard.
Pro Tip: If you’re installing on drywall, avoid placing cork directly over uneven textures. Use a foam backing or hardboard base for added support.
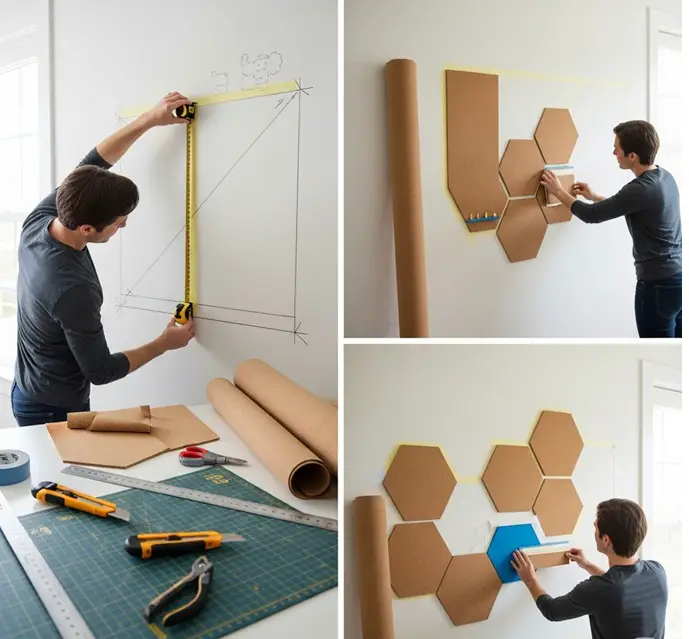
Step 2: Measuring and Planning the Layout
Whether you’re covering an entire wall or creating a framed corkboard section, planning is everything.
Layout Tips:
-
Map the wall visually using painter’s tape or paper cutouts to preview how it will look.
-
Decide whether you want a grid layout (with visible seams) or a seamless look (ideal when using rolls).
-
Measure twice—cut once! Be sure your dimensions allow for outlet covers, windows, and switches.
Idea: For a stylish twist, install the cork in geometric shapes (like hexagons) or alternate between cork and painted panels.
Step 3: Cutting the Corkboard
Use a sharp utility knife and a straight edge to ensure clean, straight cuts. Lay the cork on a safe surface, like a cutting mat or old cardboard.
Safety Tip:
Always cut away from your body and fingers. Use a metal ruler to guide your blade for added accuracy.
Step 4: Applying Adhesive and Installing
Now comes the fun part—installing your corkboard!
Instructions:
-
Apply Adhesive:
-
For sheets: Use double-sided tape in a grid pattern or apply spray adhesive evenly.
-
For rolls: Roll it out and apply adhesive section by section to avoid wrinkles or bubbles.
-
-
Position Carefully:
-
Align the cork with your pencil outline.
-
Press firmly starting from the center and moving outward to ensure even adhesion.
-
-
Smooth It Out:
-
Use a clean towel, roller, or flat board to press the cork evenly against the wall and remove air bubbles.
-
⏳ Dry Time Tip: Let the adhesive cure for the time recommended by the manufacturer—usually 24 hours for strong bonds.
Step 5: Customize and Style Your Corkboard Wall
Don’t settle for a basic cork look—make it yours!
Decoration Ideas:
-
Paint It: Use latex or chalk paint. Light sanding beforehand can help paint adhere better.
-
Wrap It in Fabric: Choose a stylish print or neutral linen. Secure the fabric with spray adhesive or staples on the back side.
-
Add a Frame: Use wood trim, metal strips, or decorative molding for a finished look.
-
Label Sections: Divide your board into zones for goals, reminders, notes, or inspiration.
Function + Style: Use color-coded pins or string to visually group tasks and ideas.
Step 6: Maintenance and Longevity
A corkboard wall is low maintenance, but a few small habits can keep it looking fresh for years:
Maintenance Tips:
-
Clean Gently: Wipe with a slightly damp cloth or use a vacuum brush attachment.
-
Avoid Over-Pinning: Too many holes in one spot can weaken cork. Move pins around occasionally.
-
Reinforce Corners: If edges begin to peel, use additional adhesive or decorative nails.
-
Refresh Over Time: You can repaint, re-cover, or re-pin the board as your style and needs evolve.
Versatile Uses for Your Corkboard Wall
This isn’t just about aesthetics—it’s about enhancing your life. Here are some smart ways to use your corkboard wall:
-
In a Home Office: Pin task lists, calendars, and motivational quotes.
-
In a Kitchen: Use it for meal planning, shopping lists, and kids’ school notices.
-
For Students: Organize study schedules, project deadlines, and class notes.
-
As a Family Command Center: Display chore charts, weekly goals, and upcoming events.
Final Thoughts
A DIY corkboard wall in 2025 is more than just a weekend project—it’s a game-changer for how you organize, decorate, and manage your daily life. Whether you want to build a memory wall, a productivity station, or simply bring new energy into a dull room, corkboard delivers both form and function.
By carefully selecting the right materials, properly preparing your wall, and customizing it to suit your lifestyle, you’ll create a space that keeps you on track and inspired every single day.