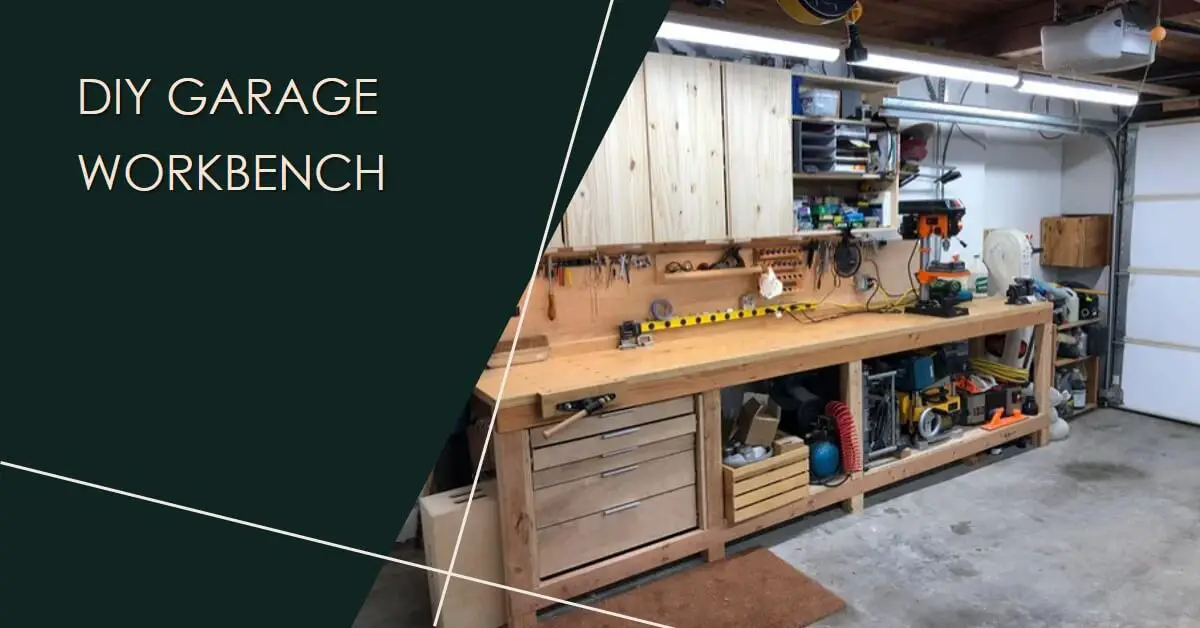
Step 1: Determine Dimensions
Before delving into the craftsmanship of your garage workbench, the first crucial step is to determine its dimensions. Take a moment to assess your workspace, considering the available area and your intended use of the workbench.
Measure the desired length, width, and height meticulously, ensuring they align seamlessly with your needs and the available space. Record these dimensions diligently, as they will serve as the guiding blueprint for the subsequent steps in your DIY journey.
Step 2: Find a Bench Top
The cornerstone of your workbench lies in the selection of the perfect bench top. Your options are diverse, ranging from the robust and classic thick, wooden, butcher-block-style tops to the more budget-friendly thin, hard, wooden sheets or even stacked plywood.
Regardless of your choice, the paramount criterion is that the selected top must be flat and sturdy. Take the time to scrutinize each option for its suitability to your intended tasks. If necessary, cut the bench top to the dimensions obtained in Step 1, ensuring a seamless fit for your customized workbench.
Step 3: Cut the Bench Top
If your choice leans towards a salvaged solid-core door or any other material, the third step involves precision cutting. Utilize the dimensions acquired in Step 1 as your guiding template. This step is pivotal in achieving the exact size required for your workbench. Pay meticulous attention to ensure accuracy, as a well-cut bench top lays the foundation for a durable and efficient workspace.
Step 4: Cut Four Legs
The legs of your workbench serve as its foundational pillars. Cut four legs from 4x4s, with each leg’s length carefully calculated as the desired height of the bench minus the thickness of the bench top. This step is instrumental in establishing the proper height and stability of your workbench, ensuring it stands securely and complements your ergonomic preferences.
Step 5: Cut Leg Braces
Creating a robust structure involves the strategic placement of leg braces. Cut four leg braces from 2x4s, factoring in the width of your chosen bench top. Precision is paramount at this stage, ensuring that the top aligns perfectly with the frame underneath. The accuracy of your cuts directly influences the overall stability and functionality of your workbench.
Step 6: Position Top Leg Braces
Lay down two 4x4s in parallel, setting the stage for the top frame. Position a leg brace flush with both sides, meticulously aligning it to ensure a seamless fit. Repeat this process for the other leg pair, creating the foundational structure that will support your workbench’s top surface.
Step 7: Bolt Top Leg Braces
The structural integrity of your workbench relies on secure connections. Utilizing a 3/8-inch drill bit, carefully drill diagonal holes through both the 2×4 and 4×4 components. Securely bolt them together, ensuring a robust and stable connection. Repeat this process for the remaining leg pair, solidifying the top frame of your workbench.
Step 8: Position Bottom Leg Braces
Enhance the stability of your workbench by strategically positioning the bottom two leg braces. Consider your preferences for frame placement, whether you desire the frame to jut out slightly for additional storage options. This step adds an extra layer of support to the structure.
Step 9: Bolt Bottom Leg Braces
Complete the assembly by mirroring the process used for the top leg braces. Utilize the same meticulous approach of drilling diagonal holes and securing the bottom leg braces with bolts. This final step ensures the comprehensive stability and resilience of your workbench, making it ready to withstand a myriad of tasks and projects.
With these carefully curated steps, your garage workbench begins to take shape, embodying functionality, stability, and a touch of your personalized craftsmanship. The careful attention to detail in each cut, brace, and bolt ensures that your DIY creation stands as a testament to your skills and ingenuity.
Conclusion
As the final screws are tightened and the last details fall into place, you stand back to admire not just a workbench but a tangible embodiment of your craftsmanship and ingenuity. Building a garage workbench isn’t merely a construction project; it’s a journey that culminates in the creation of a functional and personalized workspace tailored to your unique needs.
The satisfaction derived from each step of the process, from meticulously determining dimensions to the precise cutting and strategic assembly of components, is immeasurable. The result is more than just a utilitarian piece of furniture; it’s a testament to your dedication, attention to detail, and hands-on skills.
This DIY endeavor allows you to infuse your personality into the very fabric of your workspace. The carefully chosen materials, the precision in measurements, and the thoughtfulness in design all contribute to a workbench that reflects not only your practical needs but your individual style.


