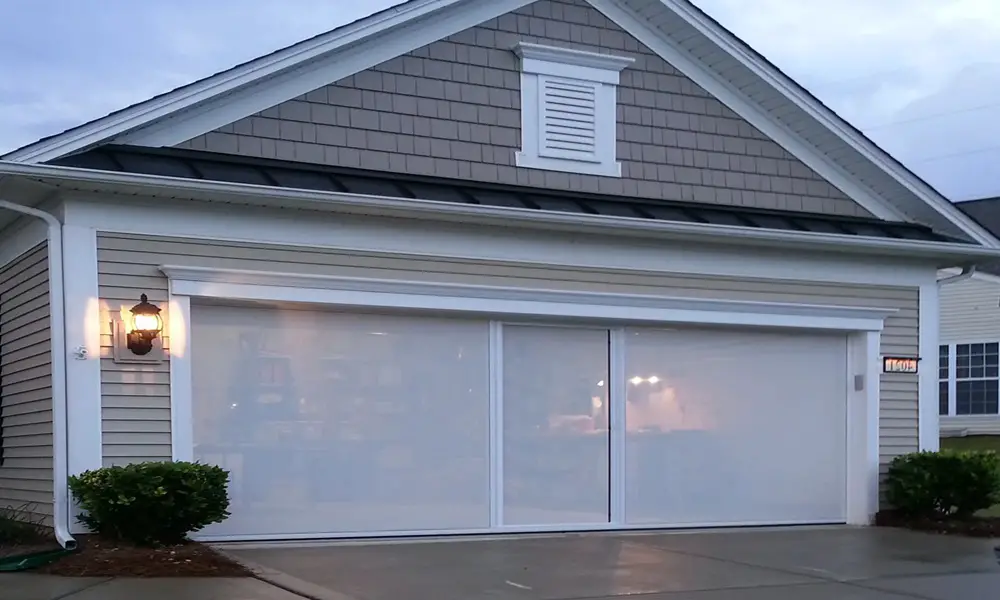
DIY Guide: How to Build a Garage Door
How to Build a Garage Door Building your own garage door can be a rewarding project that allows you to […]
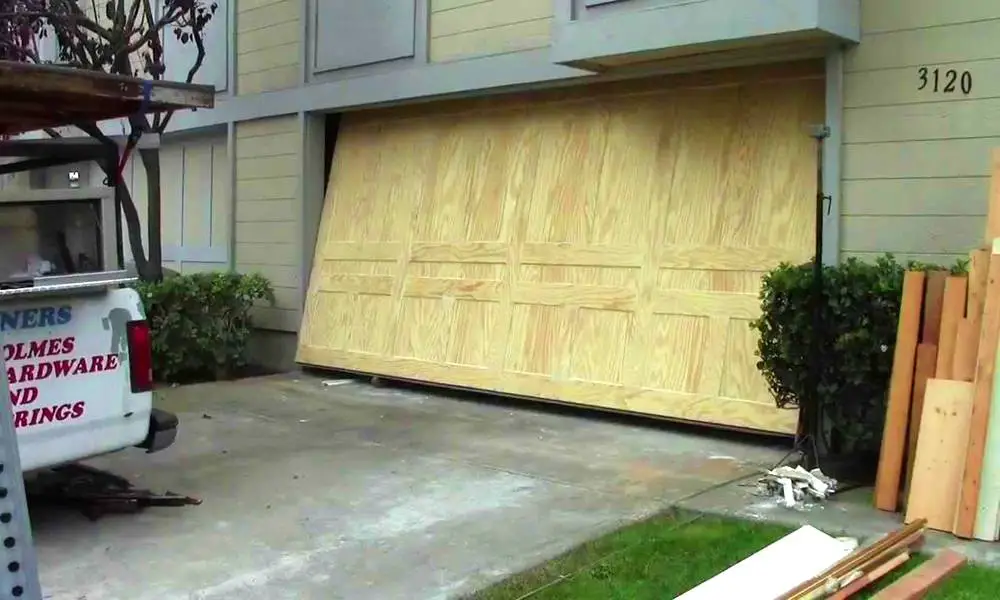
How to Build a Garage Door

Building your own garage door can be a rewarding project that allows you to customize the entrance to your home. In this guide, I will walk you through the essential steps of garage door construction, from selecting the materials to installing the door.
Whether you’re looking to save money or create a unique design, this guide will provide you with all the information you need to create a custom, secure garage door. We’ll cover topics such as planning, material selection, designing, measuring and preparing the opening, building the frame, installing the panels, adding hardware and accessories, installing the opener, and testing and adjusting the door.
By following this step-by-step guide and considering each stage carefully, you’ll be able to create a professional-grade garage door that enhances the functionality and appearance of your property. So, let’s get started on your DIY garage door construction journey!
Planning Garage Door Construction
Before embarking on the construction process of building your own garage door, it’s important to have a well-thought-out plan in place. In this section, I will share valuable tips and considerations to guide you in building a garage door from scratch. We will cover essential elements such as measurements, design choices, and the necessary tools needed to get started.
Measurements
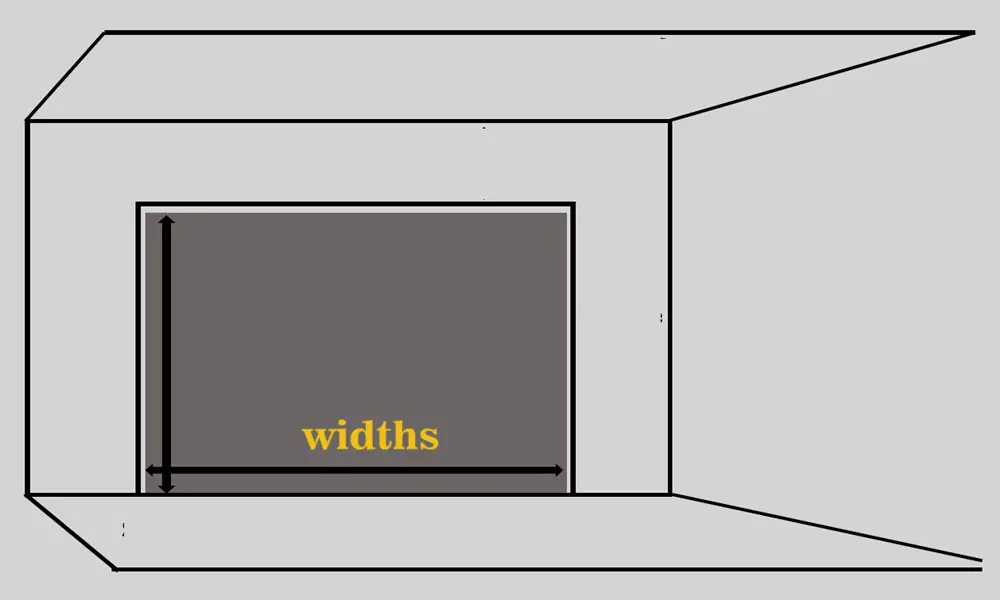
Accurate measurements are crucial for a properly functioning garage door. Before starting the construction process, measure the width, height, and depth of the garage opening. Take note of any special requirements or clearances needed, such as track space or overhead room, to ensure a proper fit.
Design Choices
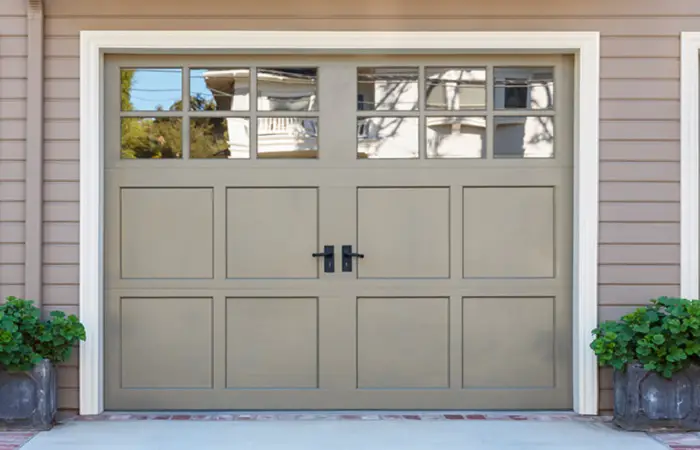
Building your own garage door allows for creativity and customization. Consider the architectural style of your home and choose a design that harmonizes with its aesthetic. Whether you prefer a traditional carriage-style or a modern sectional door, take the time to select the right design elements that will enhance the overall look of your property.
Tools
Equipping yourself with the right tools is essential for a successful garage door construction project. Here are some of the key tools you will need:
- Measuring tape
- Power drill
- Screwdriver set
- Hammer
- Saw
- Level
- Wrench set
- Pliers
- Nail gun
- Safety equipment (gloves, safety glasses, etc.)
Having these tools on hand will make the construction process more efficient and ensure that you have everything you need to build your garage door.
Once you have carefully planned out these essential elements – measurements, design choices, and tools – you’ll be well-prepared to start building your own garage door from scratch. In the next sections, we will dive into the specifics of selecting materials, designing the door, and the step-by-step process of constructing and installing your custom garage door.
Selecting the Right Materials for Your Garage Door
The choice of materials plays a crucial role in the construction of a durable and visually appealing garage door. When building a garage door from scratch, it’s important to consider various options such as wood, steel, or composite materials. Each material has its own set of advantages and considerations that you should take into account.
Wood
Wood is a popular choice for garage door construction due to its natural beauty and versatility. It can be easily customized to match the architectural style of your home. However, wood requires regular maintenance to protect it from rot, pests, and weathering. Additionally, it may not be suitable for areas with high humidity or extreme temperature fluctuations.
Steel
Steel is a durable and low-maintenance option for garage doors. It provides excellent security and protection against the elements. Steel doors come in various styles and finishes, allowing you to achieve a modern or traditional look. However, they can be prone to dents and may require periodic repainting to prevent rust.
Composite Materials
Composite materials, such as fiberglass or vinyl, offer a balance between durability, aesthetics, and low maintenance. They are resistant to warping, rust, and rot, making them an ideal choice for areas with harsh weather conditions. Composite doors can mimic the look of wood without the high maintenance requirements. However, they may be more expensive than other materials.
When selecting the right materials for your garage door, consider your budget, desired aesthetics, and functionality requirements. Evaluate the pros and cons of each material option to make an informed decision that aligns with your needs.
| Material | Pros | Cons |
|---|---|---|
| Wood | Natural beauty, customization options | Requires regular maintenance, prone to rot and pests |
| Steel | Durable, low maintenance, excellent security | Potential for dents, may require repainting |
| Composite | Durable, low maintenance, resistant to warping and rot | Can be more expensive |
Designing Custom Garage Door
When you build your own garage door, you have the opportunity to create a design that perfectly aligns with your home’s architecture. In this section, I’ll guide you through the design process, ensuring that your garage door not only serves its functional purpose but also adds to the overall curb appeal of your property. Let’s dive into the key factors to consider:
Style
The first step in designing your custom garage door is to determine the style that suits your aesthetic preferences. Whether you prefer a traditional, carriage-house style or a modern, sleek design, the choice is yours. Consider the architectural style of your home and choose a garage door style that complements it. Remember, your garage door is an extension of your home’s exterior, so select a style that seamlessly blends in.
Colors
Color selection is another important aspect of designing your garage door. Think about the colors that are predominant in your home’s exterior and choose a color scheme that harmonizes with them. You may opt for a bold, contrasting color to make a statement or go for a more subtle shade that blends with the overall palette. The choice of colors can significantly impact the visual impact of your garage door.
Decorative Elements
To add character and uniqueness to your custom garage door, consider incorporating decorative elements. These can include decorative hardware such as handles, hinges, and accents that enhance the overall design. Additionally, you may choose to add windows to your garage door, allowing natural light to filter in and adding architectural interest. These decorative elements can elevate the appearance of your garage door and make it stand out.
“Design is not just what it looks like and feels like. Design is how it works.” – Steve Jobs
By carefully considering the style, color, and decorative elements of your custom garage door, you can create a visually appealing and cohesive design that enhances the overall aesthetic of your home. Take inspiration from your surroundings and seek professional advice if needed to ensure that your design choices align with your vision. Now, let’s move on to the next section where we’ll discuss the practical steps of measuring and preparing the opening for your garage door installation.
Measuring and Preparing the Opening
Before beginning the installation process, it’s crucial to ensure accurate measurements and thorough preparation of the opening. This step is essential to guarantee a smooth and successful installation of your DIY garage door.
Let’s start by understanding the key measurements you’ll need to take. Make sure to measure the width, height, and clearance requirements of the opening. Take precise measurements to avoid any issues later on in the construction process.
To accurately measure the width, use a tape measure to determine the distance between the inside edges of the door frame. It’s important to measure at the top, middle, and bottom of the opening, as the width might vary slightly. Record the largest measurement to ensure the door fits correctly.
Next, measure the height of the opening. Again, measure at multiple points—left, center, and right—and record the highest measurement. This ensures that your garage door will operate smoothly without any clearance issues.
The clearance requirements are equally important. Measure the distance between the top of the opening and the ceiling, as well as the distance from the sides of the opening to any obstacles, such as walls or other structures. These measurements will help you determine the appropriate size of the garage door and ensure it operates safely without any obstructions.
Once you’ve obtained the necessary measurements, it’s time to prepare the opening. Ensure that the area is clean, free of debris, and level. Remove any existing door or framing that needs to be replaced. This will provide a clear and stable foundation for your new garage door.
If there are any uneven surfaces or irregularities in the opening, make the necessary adjustments to create a level surface. This can be accomplished using shims or leveling compounds. A level opening is crucial for proper functionality and ensures that the garage door operates smoothly.
Lastly, ensure that the opening is properly framed to provide the structural support required for your garage door. Use sturdy materials to create a frame that can withstand the weight and movement of the door. A well-crafted and stable frame will contribute to the longevity and performance of your DIY garage door.
Summary
Accurate measurements and thorough preparation are vital before embarking on the installation of your DIY garage door. Take precise measurements of the width, height, and clearance requirements of the opening to ensure a proper fit. Prepare the opening by removing any existing framing, leveling the surface, and creating a sturdy frame. These steps will lay the groundwork for a successful garage door construction project.
| Key Measurements | Preparation Steps |
|---|---|
|
|
Building the Garage Door Frame
The garage door frame serves as the crucial foundation for your entire garage door structure. It provides support, stability, and proper alignment, ensuring the smooth operation of your door. In this section, I will guide you through the step-by-step process of constructing a sturdy and reliable garage door frame for your DIY project.
Materials and Tools
To build the garage door frame, you will need the following materials and tools:
- Lumber boards: Select high-quality, durable lumber boards suitable for outdoor use. Make sure they are straight and free from defects.
- Saw: A circular saw or miter saw will allow you to cut the lumber boards to the required lengths accurately.
- Tape measure: Use a tape measure to take precise measurements and ensure the frame’s dimensions meet your garage door requirements.
- Screws and nails: Choose appropriate screws or nails to securely attach the lumber boards together.
- Level: Use a level to ensure the frame is perfectly plumb and level during installation.
- Clamps: Clamps will help hold the lumber boards in place while you assemble the frame.
- Drill: A drill with a suitable drill bit will assist in pre-drilling holes and driving screws into the lumber boards.
Step-by-Step Frame Construction
- Measure the garage door opening: Begin by measuring the width, height, and depth of your garage door opening. Take precise measurements to ensure a proper fit for the frame.
- Cut the lumber boards: Using a saw, cut the lumber boards to the required lengths according to your measurements. Make sure the cuts are clean and accurate.
- Assemble the frame sides: Place the cut lumber boards for the vertical sides (jambs) of the frame parallel to each other. Using clamps and screws, attach the horizontal boards (headers) to the top and bottom of the vertical boards. Ensure the corners are square, and the frame is sturdy.
- Create the top and bottom frame sections: Cut the lumber boards to the appropriate lengths for the top and bottom sections of the frame (lintel and threshold). Attach these sections to the frame sides with screws, ensuring they are securely fastened.
- Install additional support: Depending on the size and weight of your garage door, you may need to install additional horizontal reinforcement boards (struts) within the frame. These boards will provide extra support and prevent sagging.
- Level and align the frame: Using a level, ensure the frame is plumb on both sides and level at the top and bottom. Make any necessary adjustments by adding shims or adjusting the frame’s position.
- Secure the frame to the garage structure: Once the frame is properly leveled and aligned, secure it to the garage structure using appropriate fasteners. Make sure the frame is securely attached to provide stability and support.
By following these step-by-step instructions, you will be able to construct a strong and properly aligned garage door frame. Remember to double-check your measurements and take your time during the construction process to ensure a successful outcome.
Installing the Garage Door Panels
When it comes to garage door construction, installing the panels is a critical step that requires precision and attention to detail. In this section, I will guide you through the process of attaching the panels to the frame, ensuring a proper alignment and secure installation. Whether you’re creating a custom garage door or following a DIY installation, these steps will help you achieve a professional result.
Choosing the Right Panel Material
Before getting into the installation process, it’s important to consider the type of panel material you’re working with. Common options include steel, wood, and composite materials, each with their own unique properties and installation requirements. Selecting the right panel material will ensure durability, functionality, and visual appeal.
Here are some tips for handling different panel materials:
- Steel Panels: Use caution when handling steel panels, as they can be heavy and may require additional assistance during installation. Take care to avoid scratching or bending the panels.
- Wood Panels: If you’re using wood panels, make sure they are properly sealed and treated to withstand the elements. Follow the manufacturer’s recommendations for installation and maintenance.
- Composite Materials: Composite panels are a great option for their durability and low-maintenance qualities. Follow the manufacturer’s instructions for handling and installation to ensure proper fit and longevity.
Attaching the Panels to the Frame
Once you have selected the right panel material, it’s time to attach them to the garage door frame. This process involves careful positioning, securing the panels, and ensuring everything is aligned correctly.
- Starting at the bottom of the door, align the first panel with the bottom edge of the frame.
- Using appropriate screws or nails, attach the hinges of the panel to the frame. Make sure the panel is level and flush with the frame.
- Continue installing the remaining panels, overlapping them as required. Ensure that each panel is securely attached to the frame and aligned properly with the adjacent panels.
- Check the vertical alignment of the panels using a level. Make any necessary adjustments to ensure a straight and even appearance.
Addressing Potential Challenges
During the installation process, you may encounter certain challenges that need to be addressed. Here are some common issues and tips for overcoming them:
Panel Warping: If you notice that one or more panels are warped, do not install them. Warped panels will not provide a proper fit and can affect the overall functionality of the garage door.
Tight Fit: If the panels are too tight when closing or opening the garage door, you can adjust the track spacing. Consult the manufacturer’s instructions for guidance on adjusting the track and ensuring smooth operation.
Trimming Panels: In some cases, you may need to trim panels to fit the opening properly. Use appropriate tools and techniques recommended by the manufacturer to avoid damaging the panels.
By following these installation steps and addressing potential challenges, you can ensure a successful and professional installation of your garage door panels. Remember to double-check the alignment and secure attachment of each panel to create a custom garage door that enhances the functionality and aesthetics of your home.
Adding Hardware and Accessories
Choosing the right hardware and accessories for your DIY garage door installation is crucial to enhance its functionality and aesthetics. In this section, I’ll guide you through the process of selecting and installing the necessary components for your custom garage door.
Selecting the Right Hinges
Hinges play a vital role in the smooth operation of your garage door. When choosing hinges, consider the weight and size of your door to ensure proper support. Opt for durable and rust-resistant materials, such as stainless steel or heavy-duty aluminum.
Installing Handles and Locks
Add convenience and security to your garage door by installing handles and locks. Choose handles that not only match your design preferences but also provide a comfortable grip. Select high-quality locks that offer reliable protection for your garage. Follow the manufacturer’s instructions for proper installation.
Enhancing with Windows
Windows can add natural light and visual appeal to your garage door. When selecting windows, consider the style and design of your home. Choose impact-resistant glass for enhanced durability and security. Install windows strategically to maintain privacy while enjoying the benefits of natural light.
Insulation for Energy Efficiency
Insulating your garage door offers energy savings and improved temperature control. Select insulation materials based on your climate and energy efficiency needs. Follow the manufacturer’s instructions for proper installation to maximize the insulation’s effectiveness.
| Hardware and Accessories | Benefits |
|---|---|
| Hinges | Provide smooth operation |
| Handles and Locks | Enhance convenience and security |
| Windows | Add natural light and visual appeal |
| Insulation | Improve energy efficiency |
Installing the Garage Door Opener
If you’re looking to add convenience and automation to your DIY garage door installation, installing a garage door opener is a necessary step. This guide will provide you with a detailed, step-by-step process for seamlessly installing a garage door opener, ensuring a smoothly functioning, automated garage door.
Step 1: Gather the Necessary Tools and Materials
Before you begin installing the garage door opener, gather the following tools and materials:
- Garage door opener kit
- Power drill
- Screwdriver
- Tape measure
- Pliers
- Wire strippers
- Level
- Safety glasses
Step 2: Prepare for the Installation
Prior to installing the garage door opener, review the manufacturer’s instructions and safety guidelines. Ensure that the area around the garage door is clear and free from any obstructions. Double-check that the garage door is in good working condition and properly balanced.
Step 3: Install the Garage Door Opener
Follow these steps to install the garage door opener:
- Attach the mounting bracket to the ceiling, following the manufacturer’s instructions. Use a level to ensure it is properly aligned.
- Secure the header bracket to the wall above the garage door, making sure it is securely fastened.
- Attach the motor unit to the mounting bracket on the ceiling, aligning it with the tracks.
- Connect the chain or belt to the motor unit and the trolley.
- Install the safety sensors at the base of the garage door, ensuring they are aligned and facing each other.
- Connect the control panel and wall switch according to the manufacturer’s instructions.
- Complete the wiring for the garage door opener, following the provided wiring diagram.
- Test the opener to ensure it is functioning correctly and make any necessary adjustments.
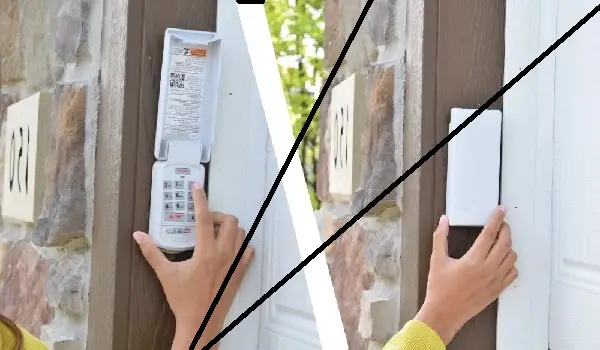
Once the garage door opener is installed, you can program it to work with your garage door and any additional remotes or keypad entry systems.
Safety Considerations
When installing a garage door opener, prioritize safety at all times. Take the following precautions:
- Switch off power to the garage door opener before starting the installation.
- Ensure the garage door is in the fully closed position and disconnect the power to the opener to prevent accidental movement.
- Wear safety glasses when working with tools or materials.
- Follow all manufacturer’s instructions and guidelines for safe installation and operation.
By following these steps and adhering to safety measures, you can successfully install a garage door opener and enjoy the convenience of automated garage door operation.
Testing and Adjusting Your Garage Door
Once your garage door is installed, it’s crucial to test its operation and make any necessary adjustments. Ensuring smooth and safe functionality is key to the long-term performance of your DIY garage door. In this section, I’ll explain how to perform essential tests and provide helpful tips for addressing common issues and fine-tuning your garage door’s performance.
Performing Essential Tests
- Open and close the garage door using both the manual and automated methods, if applicable. Pay attention to any unusual noises, jerking movements, or uneven operation.
- Inspect the garage door tracks to ensure they are aligned and properly mounted. Look for any obstructions or debris that may hinder the smooth movement of the door.
- Test the garage door’s safety features, such as the reversing mechanism. Place an object, like a bucket, in the path of the closing door and see if it reverses upon contact.
- Check the balance of the garage door by disconnecting the opener and operating it manually. The door should stay in place when opened halfway and not immediately fall or rise.
- Observe the garage door’s seals and weatherstripping to ensure they provide a tight and effective barrier against drafts and moisture intrusion.
Troubleshooting Common Issues
While testing your garage door, you may encounter some common issues that require adjustments or repairs. Here are a few tips to address these problems:
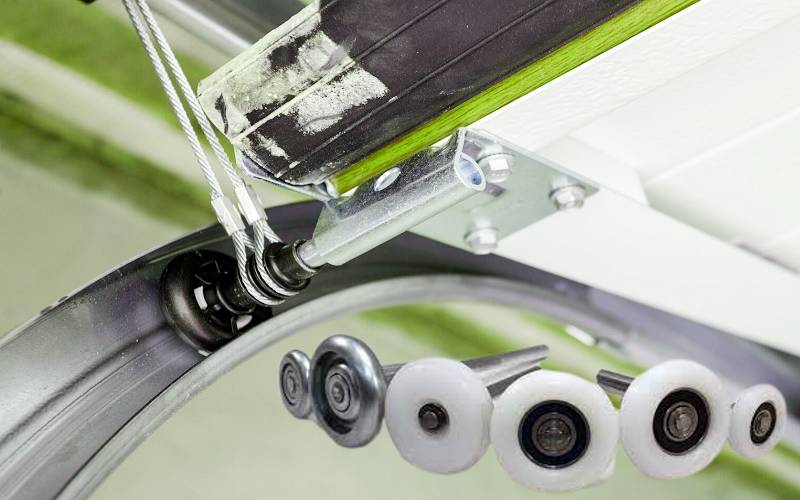
If your garage door is noisy during operation, lubricate the metal moving parts, such as the hinges, springs, and rollers, with a silicone-based lubricant. Avoid using oil-based lubricants as they can attract dirt and debris.
If the garage door is uneven or off-track, manually realign it by loosening the screws or bolts on the tracks and carefully sliding the door into the proper position. Then, tighten the fasteners to secure the tracks.
If the garage door opener’s remote control or keypad is not functioning correctly, check the batteries and ensure they are properly installed. If the issue persists, consult the manufacturer’s instructions for troubleshooting or contact a professional.
Fine-Tuning Your Garage Door’s Performance
To optimize the performance of your garage door, consider the following tips:
Adjust the garage door opener’s sensitivity settings to ensure it properly responds to obstructions and stops or reverses as needed.
Inspect and tighten the hardware, such as screws and bolts, on a regular basis to prevent loosening, which can affect the door’s alignment and smooth operation.
Regularly clean and maintain the garage door’s surfaces, including the panels, tracks, and hinges, to remove dirt, debris, and rust that can impact its performance and longevity.
Your Garage Door’s Performance Table:
| Performance Aspect | Evaluation |
|---|---|
| Smoothness of operation | Excellent |
| Balance and alignment | Satisfactory |
| Noise level during operation | Good |
| Safety features functionality | Outstanding |
| Seals and weatherstripping efficacy | Very good |
Review the table above to assess your garage door’s overall performance. If you notice any areas for improvement, revisit the appropriate sections in this guide to make the necessary adjustments and ensure your garage door functions optimally.
Conclusion
Building your own garage door can be a rewarding and cost-effective project, allowing you to create a customized entrance for your home. By following this DIY guide and carefully considering each step, you’ll be able to build a garage door that meets your unique needs.
Remember to prioritize safety throughout the construction process and consult professionals if needed. With the right materials, tools, and knowledge, you can achieve a professional-grade garage door that enhances the functionality and appearance of your property.
FAQ
Can I build a garage door myself?
Absolutely! Building a garage door yourself can be a rewarding project that allows you to create a custom entrance for your home. With the right materials, tools, and knowledge, you can achieve professional-grade results.
What materials can I use to build a garage door?
There are various options for garage door materials, including wood, steel, and composite materials. The choice depends on your budget, aesthetic preferences, and desired level of durability.
How do I measure the opening for my garage door?
Accurate measurements are crucial for proper installation. Measure the width, height, and clearance requirements of the opening. Ensure you have the necessary space for the door to operate smoothly.
What tools do I need to build a garage door?
Common tools for building a garage door include a tape measure, saw, drill, screwdriver, level, and clamps. Depending on the materials and design, you may also need specific tools such as a miter saw or paint sprayer.
How do I align and attach the garage door panels?
When attaching the panels to the frame, ensure proper alignment and secure installation. Follow the manufacturer’s instructions and use the appropriate hardware. Take care to distribute the weight evenly and avoid gaps or misalignment.
