How to Measure and Frame a 9×7 Garage Door Rough Opening
When it comes to installing a new garage door, one of the critical steps that often gets overlooked is measuring […]
When it comes to installing a new garage door, one of the critical steps that often gets overlooked is measuring and framing the rough opening.
Properly measuring and framing a 9×7 garage door rough opening is essential to ensure a seamless installation and a well-fitting door.
In this comprehensive guide, we will take you through the step-by-step process of measuring and framing a 9×7 garage door rough opening, covering key concepts such as dimensions, materials, and techniques.
Step 1: Gather Necessary Tools and Materials
Before you begin measuring and framing your 9×7 garage door rough opening, gather all the necessary tools and materials to ensure a smooth and efficient process. You will need:
- Tape measure
- Level
- Hammer
- Nails
- Saw
- Lumber for framing (2×4 or 2×6 boards)
- Header material (engineered wood or LVL beam)
- Safety equipment (gloves, safety glasses, etc.)
Step 2: Measure and Mark the Rough Opening
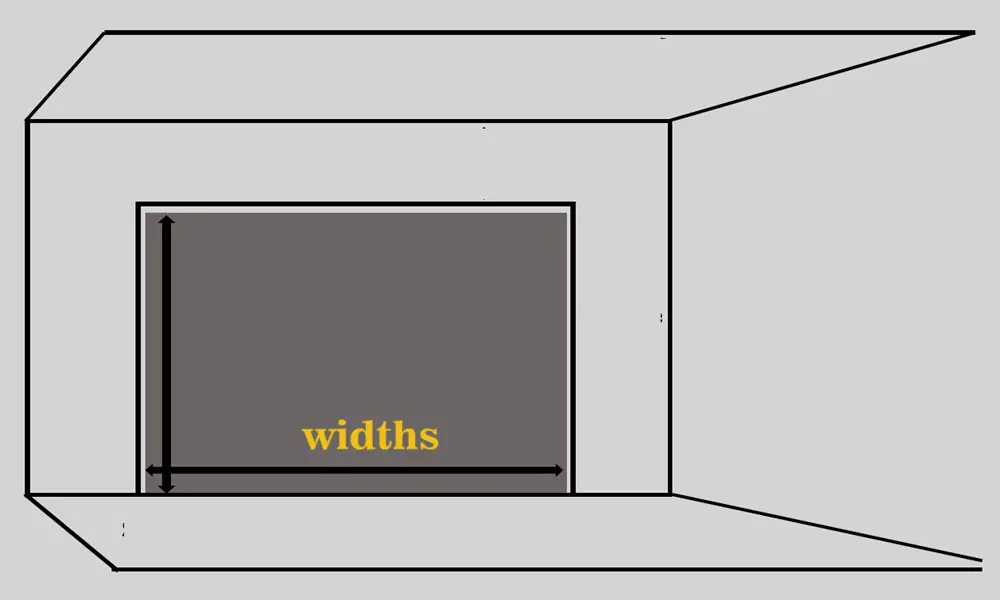
Start by measuring the width and height of the garage door. In this case, we are working with a 9×7 garage door, which means the door is 9 feet wide and 7 feet tall.
Once you have these measurements, add a few inches to both the width and height to allow for adjustments and ensure a proper fit. Mark these dimensions on the garage wall, indicating the outer edges of the rough opening.
| Measurement | Finished Size |
|---|---|
| Width | 9 feet 3 inches |
| Height | 7 feet 1.5 inches |
| Header | 2x6s |
| Jambs | 2x4s |
Step 3: Frame the Header
The header is a crucial component that supports the weight of the garage door and ensures the structural integrity of the opening.
Measure the width of the rough opening and cut a piece of engineered wood or LVL beam to this length.
Install the header above the marked opening, ensuring it is level and securely attached to the existing structure using nails or appropriate hardware.
Step 4: Install the Jambs
Next, cut two vertical jambs from the same lumber used for framing. These jambs will be attached on either side of the rough opening to provide a secure framework for the garage door.
Position the jambs alongside the opening, ensuring they are plumb and flush with the header and the surrounding wall. Secure them in place using nails or screws.
Step 5: Complete the Frame
With the header and jambs in place, proceed to create the remaining frame. Cut and attach horizontal members (known as cripple studs) between the header and the top plate of the wall, as well as at the bottom of the opening.
Additionally, insert vertical studs between the jambs and the bottom plate to further reinforce the frame. Ensure that all frame members are level, plumb, and securely fastened.
Step 6: Double-Check Measurements and Levelness
Before proceeding, double-check all measurements, especially the width, height, and diagonals of the rough opening.
Use a tape measure and level to ensure everything is aligned correctly. Making adjustments at this stage is easier than later in the installation process.
Step 7: Ready for Garage Door Installation
With the rough opening accurately measured and framed, you are now ready to proceed with the installation of your 9×7 garage door.
Follow the manufacturer’s instructions carefully to attach the door tracks, panels, and hardware. A well-measured and properly framed rough opening will contribute to a smooth installation and a garage door that operates seamlessly.
Conclusion
Measuring and framing a 9×7 garage door rough opening is a fundamental step in ensuring a successful and hassle-free installation.
By following this step-by-step guide, you can confidently create a sturdy and accurately sized opening for your new garage door.
Taking the time to measure accurately, select quality materials, and frame diligently will result in a well-fitting garage door that enhances the functionality and aesthetics of your space.
Remember, precision and attention to detail during this process will pay off in the long run, providing you with a garage door that operates smoothly and stands the test of time.
