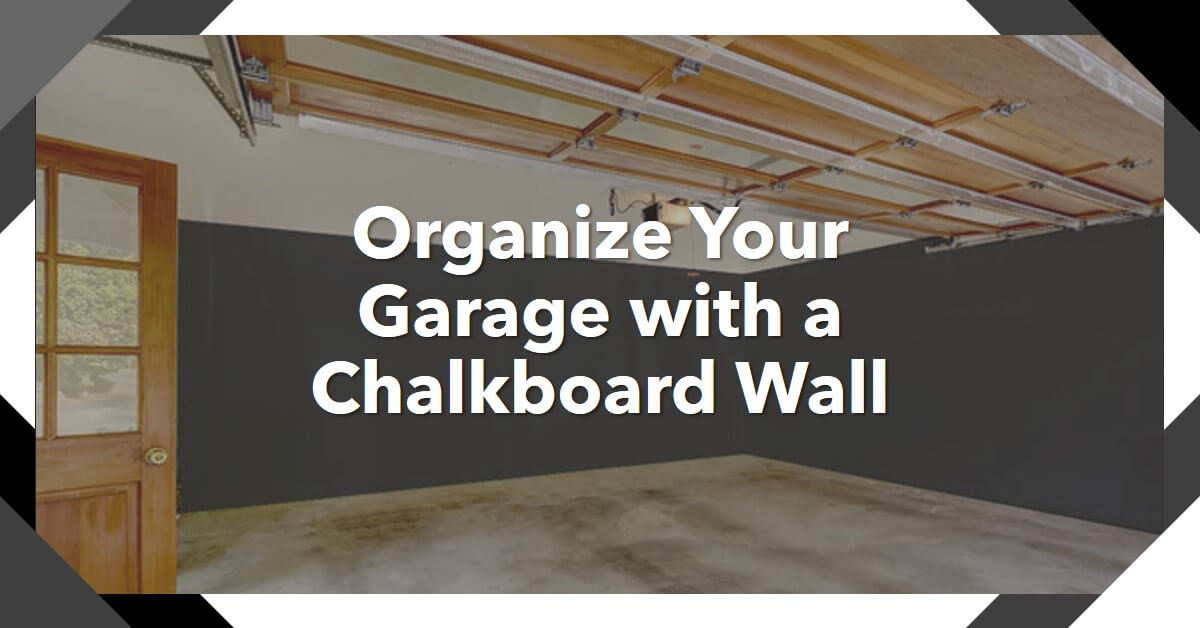
Are you tired of your messy garage? Do you find it difficult to keep track of your tools, supplies, and projects? Well, I recently had an incredible experience with a garage chalkboard wall that completely transformed my garage organization.
In this article, I will share my firsthand experience and provide useful information to help you create your own garage chalkboard wall. Let’s dive in!
Understanding the Benefits of a Chalkboard Wall

During my garage makeover, I discovered that a chalkboard wall is an innovative and versatile solution for garage organization.
It serves as a multifunctional tool that can be used for communication, organization, and inspiration. By turning a section of your garage wall into a chalkboard, you create a dynamic space where you can write notes, make lists, sketch ideas, and track projects.
Step-by-Step Guide to Creating a Garage Chalkboard Wall
- Assessing the Space Start by assessing your garage space and identifying the most suitable wall for the chalkboard. Consider factors such as accessibility, visibility, and available surface area. I chose a wall near the entrance for easy access.
- Preparing the Wall Surface To ensure a smooth finish, it’s important to prepare the wall surface before applying the chalkboard paint. Clean the wall thoroughly, sand any rough patches, and fill in any holes or cracks. This will help create a seamless finish once the paint is applied.
- Choosing the Right Chalkboard Paint Selecting a high-quality chalkboard paint designed specifically for walls is crucial. Take into account the color options available and choose one that complements the overall aesthetic of your garage. I opted for classic black chalkboard paint.
- Applying the Chalkboard Paint Follow the instructions provided by the manufacturer to apply the chalkboard paint. Use a roller or brush to achieve an even coat, and make sure to allow sufficient drying time between coats. I applied two coats to ensure full coverage.
- Adding Framing and Trim To enhance the visual appeal of my chalkboard wall, I decided to add framing and trim. I chose a rustic wooden frame that added a touch of character to the overall design. You can use materials like wood, metal, or PVC to create your own unique framing style.
- Seasoning the Chalkboard Surface Once the paint has dried completely, it’s essential to season the chalkboard surface before using it. This involves rubbing the entire surface with chalk and then erasing it. Seasoning prevents ghosting and ensures that future writings can be easily erased. I found this step to be crucial for optimal performance.
Organizing Your Garage with the Chalkboard Wall Now that your chalkboard wall is ready, it’s time to utilize it for effective organization.
- Designating Zones Divide your garage into zones based on the type of items and activities that take place there. Create designated areas for tools, gardening supplies, sports equipment, and any other categories relevant to your needs. This helps maintain order and makes it easier to find and return items to their proper places.
- Utilizing Labels and Categories Maximize the effectiveness of your chalkboard wall by using labels and categories. Clearly label different sections of the wall and assign specific areas for different items. This visual organization system helps everyone in the household locate and return items to their designated spots.
- Tracking Projects and Tasks One of the most useful aspects of the chalkboard wall is its ability to serve as a project management tool. Use it to write down project ideas, track progress, and set deadlines. It provides a visual representation of your ongoing projects, making it easy to prioritize and stay organized.
- Creating a Visual Inventory Keeping track of your garage items can be challenging, but with a chalkboard wall, you can create a visual inventory. List the items you have and update it as needed. This helps you stay aware of your supplies and prevents unnecessary purchases.
- Inspiring Creativity and Ideas The chalkboard wall also acts as a creative space. Utilize it to sketch out designs, write down inspirational quotes, or brainstorm new ideas. It provides a blank canvas for your imagination to flourish.
Garage Makeover Ideas and Inspiration In addition to the chalkboard wall, there are various other elements you can incorporate into your garage makeover. Consider the following ideas to transform your garage into a functional and aesthetically pleasing space:
- Custom Shelving and Storage Solutions Installing custom shelving units and storage solutions maximizes vertical space and keeps your garage organized. Utilize wall-mounted racks, hooks, and bins for efficient storage of tools, equipment, and supplies.
- Workbench and Tool Organization Set up a dedicated workbench with ample workspace and storage for tools. Organize your tools by type, using pegboards, tool chests, or magnetic strips to keep them easily accessible and visible.
- Functional Lighting and Electrical Outlets Ensure your garage is well-lit for optimal visibility. Install overhead lights, and task lighting, and utilize natural light sources whenever possible. Additionally, consider adding electrical outlets to power tools and equipment conveniently.
- Floor Covering and Maintenance Improve the look and functionality of your garage floor by applying epoxy coatings or using interlocking floor tiles. These options provide durability, and easy maintenance, and enhance the overall aesthetics of your garage.
- Personalization and Aesthetics Add personal touches and incorporate your style into the garage space. Hang artwork, install a sound system, or paint the walls in colors that reflect your personality. Make it a space that inspires and motivates you.
Read Also:
Conclusion
I can confidently say that a garage chalkboard wall, combined with effective organization strategies and makeover ideas, can truly transform your cluttered garage into a functional and inspiring space.
By following the step-by-step guide provided and implementing the suggested ideas, you can achieve a well-organized garage that meets your needs and enhances your overall productivity.


