How to Clean Garage Floors
Garage floors are often one of the most neglected parts of our homes. Over time, they accumulate dirt, oil stains, rust marks, and various other unsightly blemishes.
Fear not, as we are here to guide you through the process of revitalizing your garage floor.
In this comprehensive article, I will take you through each step, from gathering the necessary supplies to applying the cleaning agent and finally, ensuring your garage floor is both clean and safe to walk on. Let’s roll up our sleeves and get started.
How to Clean Garage Floors
Section 1: Gather Supplies
Before embarking on your journey to clean your garage floor, it’s essential to assemble the right tools and cleaning agents.
Your choice of supplies will significantly impact the efficiency and effectiveness of your cleaning process. Let’s take a closer look at the array of items you’ll need:
1. Cleaning Agent: The choice of cleaning agent depends on the type of stain you’re dealing with. Your options are quite versatile and include:
- Vinegar: A natural, eco-friendly choice effective against mild stains and capable of tackling unpleasant odors.
- Baking Soda: A versatile and eco-conscious option for general cleaning and stain removal.
- Degreaser: Ideal for combatting stubborn grease and oil stains, which are common culprits on garage floors.
- Kitty Litter: Highly effective at absorbing oil and grease, making it a handy resource for those troublesome spots.
- TSP (Trisodium Phosphate): A heavy-duty cleaner, particularly effective against tough stains like rust and oil.
- Bleach: Especially useful for dealing with mold and mildew, but remember to exercise caution and use it sparingly.
- Dishwasher Detergent: An excellent choice for general cleaning and stain removal, widely available and easy to use.
- Concrete Cleaner: Specially formulated for concrete surfaces, ensuring optimal cleaning power.
- Epoxy Cleaner: Specifically designed for epoxy-coated garage floors, providing a gentle but efficient cleaning solution.
- Rubber Tire Remover: Tailored for the removal of tire marks, ensuring your garage floor looks pristine.
- Rust Stain Remover: Tailor-made for rust stains, ensuring they don’t mar your floor’s appearance.
- Paint Stain Remover: A specialized solution designed to tackle paint stains effectively.
2. Broom: A broom with stiff bristles is an invaluable tool for the initial phase of the cleaning process. It allows you to sweep away loose dirt and debris effectively, prepping your garage floor for a deeper clean.
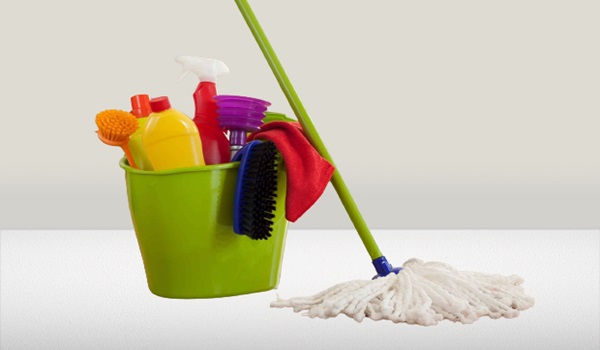
3. Mop and Bucket: These are essential for the rinsing phase of the operation. They ensure a thorough clean, removing residual cleaning agents and dirt from your floor.
4. Brush: A scrubbing brush is your go-to weapon for stubborn stains that require a little extra elbow grease. This tool will prove invaluable in ensuring the cleaning agent penetrates and eliminates even the most persistent blemishes.
5. Pressure Washer (optional): If your garage floor is exceptionally grimy, investing in a pressure washer can significantly expedite the cleaning process. While optional, it’s a time-saving addition that can yield impressive results.
6. Rubber Gloves: Don’t forget to protect your hands when working with cleaning agents, especially when dealing with strong chemicals like bleach.
Now that you’ve gathered your supplies, you’re well-prepared to move forward with the garage floor cleaning process, ensuring the best possible results for your space.
Section 2: Prepare Garage Floor
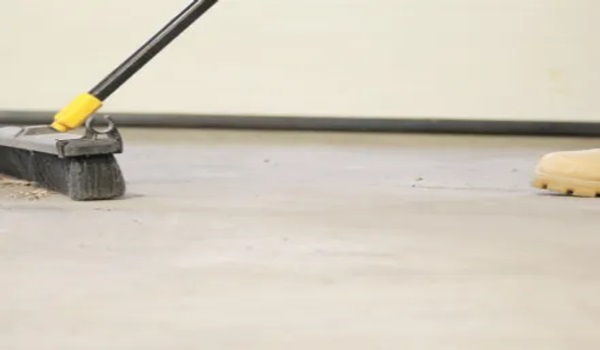
With your arsenal of cleaning supplies assembled, it’s time to prepare your garage floor for the transformation it deserves. This stage is fundamental to ensure your cleaning efforts are efficient and effective. Let’s break it down:
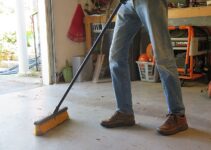
- Sweep Away Debris: Kickstart your cleaning operation by sweeping your garage floor to remove loose dirt and debris. A broom with stiff bristles is your trusty ally in this endeavor. Make sure to get into all the nooks and crannies, as dirt can accumulate in even the most unexpected places.
- Move Furniture and Objects: Your cleaning process will be hindered by any obstacles in your path. Thus, clear the garage floor of any furniture or objects that may obstruct your efforts. This includes moving cars, tools, and storage items to create a clear canvas for your cleaning endeavor.
- Cover Drainage Areas: If your garage features drainage areas, it’s essential to cover them with towels. This precautionary measure prevents any cleaning agents from flowing into these areas, which can lead to undesirable consequences.
By meticulously preparing your garage floor, you’re taking a vital step towards a successful and hassle-free cleaning process.
Section 3: Choose a Cleaning Agent
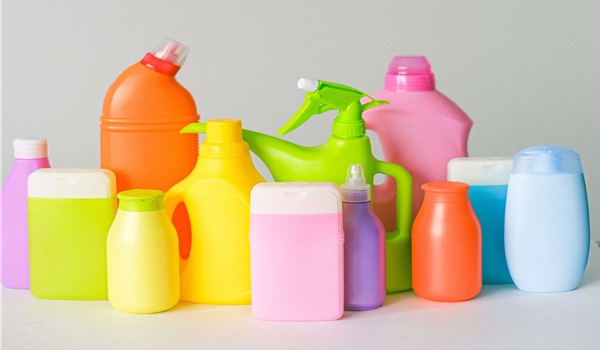
The choice of cleaning agent is pivotal to ensuring an effective clean. The following section will delve into the various types available, highlighting their suitable applications:
- Garage Floor Cleaner: This is a general-purpose cleaner, perfect for routine maintenance. It’s versatile and designed to keep your garage floor looking its best with regular use.
- Vinegar: An eco-friendly option effective against mild stains, making it ideal for general cleaning and even tackling odors that may have permeated your garage floor.
- Baking Soda: A versatile, non-toxic solution that’s excellent for general cleaning and stain removal. It’s a staple in many households for its multifaceted cleaning abilities.
- Degreaser: This powerhouse is perfect for combating stubborn grease and oil stains that are commonly found on garage floors. It’s your go-to choice for effectively removing these troublesome spots.
- Kitty Litter: Known for its prowess in absorbing oil and grease, kitty litter is a valuable resource for tackling specific problem areas on your garage floor.
- TSP (Trisodium Phosphate): A heavy-duty cleaner, TSP is highly effective against tough stains such as rust and oil. It’s particularly useful for restoring the cleanliness of your garage floor.
- Bleach: This cleaning heavyweight is capable of handling mold and mildew, but it’s essential to use it cautiously and sparingly due to its potency.
- Dishwasher Detergent: This household item proves excellent for general cleaning and stain removal, and it’s widely available and easy to use.
- Concrete Cleaner: Formulated specifically for concrete surfaces, this cleaner ensures optimal performance on your garage floor.
- Epoxy Cleaner: Designed for epoxy-coated garage floors, this gentle yet efficient cleaner safeguards the integrity of your epoxy finish.
- Rubber Tire Remover: If tire marks are your concern, this specialized cleaner is your solution to removing them effectively.
- Rust Stain Remover: Tailor-made to eliminate rust stains, ensuring your garage floor remains free from unsightly blemishes.
- Paint Stain Remover: A specialized solution designed to tackle paint stains effectively, safeguarding the aesthetic appeal of your garage floor.
With this comprehensive selection of cleaning agents at your disposal, you can confidently choose the one best suited to your specific needs. Your choice here is pivotal in the success of your garage floor cleaning project.
Section 4: Apply the Cleaning Agent
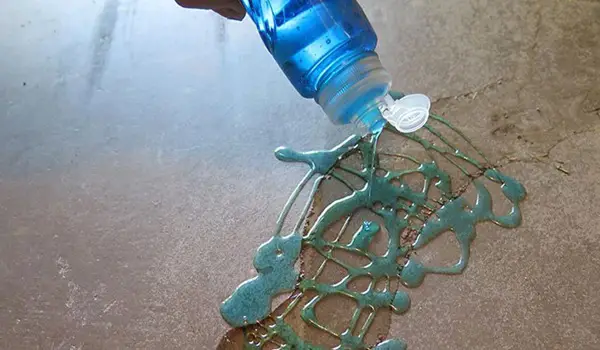
Now that you’ve selected the appropriate cleaning agent tailored to your garage floor’s specific needs, it’s time to apply it correctly. How you apply the cleaning agent plays a crucial role in the effectiveness of your cleaning process. Follow these guidelines for a successful application:
- Read the Instructions: Always start by carefully reading and following the instructions provided on the label of your chosen cleaning agent. This step ensures you’re using the product as intended and in a safe manner.
- Prepare the Cleaning Solution: If your cleaning agent requires dilution, follow the recommended mixing ratios. Be precise to avoid using a solution that’s too weak or too strong.
- Apply Evenly: Use a sprayer, mop, or a designated applicator to spread the cleaning agent evenly across the garage floor. Make sure you cover the entire surface, paying extra attention to areas with stubborn stains.
- Let It Sit: Depending on the product, you may need to allow the cleaning agent to sit for a specified period. This “dwell time” gives the cleaning agent a chance to break down and lift stains.
- Scrub if Necessary: For more stubborn stains, utilize your scrubbing brush to agitate the cleaning agent into the floor. This additional effort can prove invaluable in removing deeply ingrained blemishes.
- Avoid Overuse: Using too much cleaning agent can lead to a residue buildup, which you’ll want to avoid. Stick to the recommended quantities and guidelines provided on the product label.
Section 5: Scrub the Garage Floor
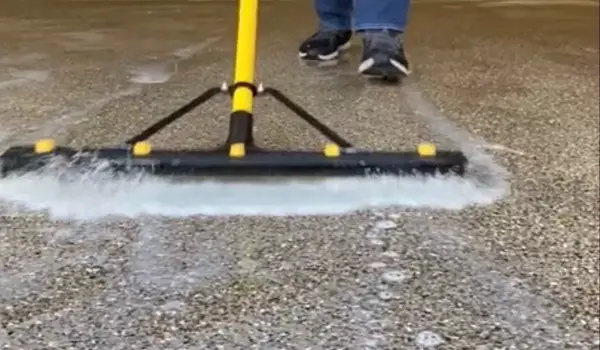
Now, let’s delve into the importance of scrubbing when it comes to cleaning your garage floor. Scrubbing plays a pivotal role in dislodging tough stains and ensuring your garage floor returns to its pristine condition. Follow these steps to make the most of your scrubbing efforts:
- Choose the Right Tool: Whether it’s a scrubbing brush with stiff bristles or a stiff-bristle broom, select the tool that’s most appropriate for your cleaning agent and the type of stains you’re tackling.
- Work in Sections: To manage your cleaning process effectively, divide your garage floor into manageable sections. This approach ensures that you give each part of the floor the attention it needs.
- Apply Adequate Pressure: Don’t be afraid to apply some elbow grease. You’ll need to put in some effort, especially on stubborn stains like grease, oil, rust, paint, and tire marks.
- Use a Back-and-Forth Motion: Whether you’re scrubbing with a brush or a broom, a back-and-forth motion is the most effective way to work the cleaning agent into the floor. It helps dislodge the stains and allows the cleaning agent to penetrate.
- Concentrate on Problem Areas: Pay special attention to areas with pronounced stains, as they may require a bit more attention. You can spend extra time scrubbing these spots until you see the desired results.
By following these scrubbing guidelines, you’ll be well on your way to tackling tough stains and revitalizing your garage floor.
Section 6: Rinse the Garage Floor
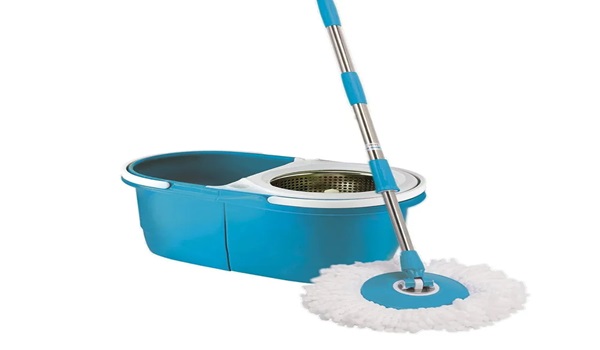
After the hard work of applying your chosen cleaning agent and scrubbing the garage floor, it’s time to ensure all residues are thoroughly removed. Here’s how to complete this essential step:
- Prepare Your Mop and Bucket: Fill a bucket with clean water and ensure you have a mop ready for action.
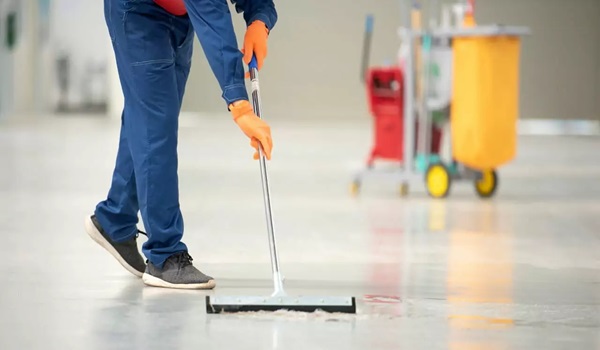
- Rinse Methodically: Starting at one end of the garage, begin rinsing the floor. Ensure your mop is thoroughly soaked and then wrung out. This process prevents excessive water on your garage floor.
- Change Water Regularly: As the water in your bucket becomes cloudy or dirty, change it. Clean water is essential for ensuring the cleaning agent is removed completely.
- Rinse Twice if Needed: If you used a particularly strong cleaning agent or had deeply ingrained stains, you may need to rinse the garage floor twice to guarantee that no residue remains.
By diligently following these steps, you will effectively rinse away any cleaning agent and residue, leaving your garage floor clean and ready for the final step.
Section 7: Dry the Garage Floor
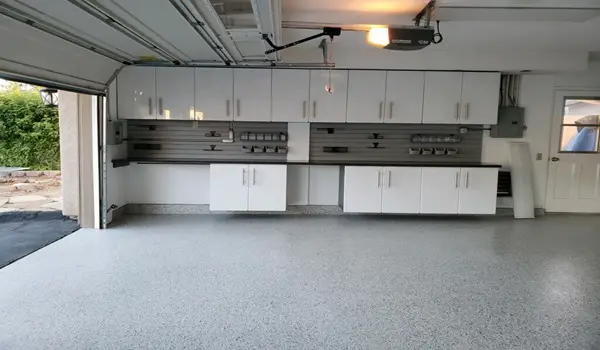
Drying your garage floor is the final step in the garage floor cleaning process. It serves not only to enhance the appearance but also to ensure safety, preventing slipping hazards. Here’s how to complete this critical phase:
- Towels or Air Dry: Depending on the size of your garage, you can either use towels to dry the floor or allow it to air dry. If you choose towels, ensure they are clean and dry to avoid introducing more dirt onto your freshly cleaned floor.
- Inspect for Moisture: After drying, inspect your garage floor for any remaining moisture. Ensure that no areas remain damp to prevent slipping hazards.
- Celebrate Your Clean Garage Floor: Once your floor is completely dry, take a moment to appreciate the transformation. Your clean garage floor is not only visually pleasing but also safer for your family and any vehicles that may inhabit the space.
With your garage floor now clean, dry, and safe, you’ve successfully completed the garage floor cleaning process. Your hard work has paid off, and your garage floor looks and feels like new again. It’s a testament to your dedication to cleanliness and safety.
Conclusion
Maintaining a clean garage floor is not only about aesthetics but also safety. Regular cleaning not only ensures that your garage floor looks inviting, but it also prevents accidents due to slippery surfaces.
Whether it’s a routine clean or tackling stubborn stains, choosing the right cleaning agent and following a methodical approach will yield fantastic results.
Now that you have the knowledge on how to clean garage floors, it’s time to put it into action. Don’t hesitate to share this step-by-step guide with your friends and family, and let’s make those garage floors shine again. Your garage floor, your vehicles, and your peace of mind will thank you.
Remember, it’s not just about cleaning your garage floor it’s about transforming your space and ensuring it remains a functional and appealing part of your home.
So go ahead, equip yourself with the right supplies, choose the best cleaning agent for your needs, and embark on the journey to a cleaner, safer, and more aesthetically pleasing garage floor. How to clean garage floors is now in your hands.
