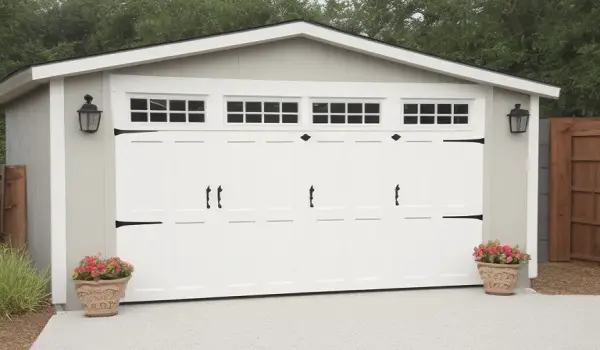
Framing a garage door might seem like a daunting task, but with the right guidance and techniques, it can be accomplished with precision and professionalism.
Proper framing is crucial to ensure the stability, security, and aesthetic appeal of your garage door installation.
In this comprehensive guide, we will walk you through the process of framing an 8×7 garage door, providing step-by-step instructions and valuable tips to help you achieve a seamless result.
Materials and Tools Needed
Before you begin, gather all the necessary materials and tools. Here’s a list of what you’ll need:
- Wooden Boards: Opt for high-quality lumber, such as 2×6 and 2×10 boards, for framing and blocking.
- Measuring Tape: Essential for accurate measurements of the door opening and wooden boards.
- Framing Square: Useful for ensuring precise angles and cuts.
- Nails and Nail Gun: Choose appropriate nails to secure the boards together.
- Paint or Primer: Pre-paint the boards for easier application before installation.
- Safety Gear: Wear protective gear, including gloves and safety glasses, to prevent injuries.
- Circular Saw: Required for cutting boards to the desired lengths.
- Level: Ensure the frames are perfectly vertical and horizontal.
- Hammer: Can be used instead of a nail gun.
- Pencil or Chalk Line: Useful for marking measurements and lines on the wood.
Step-by-Step Instructions

- Prepare the Opening: Remove any temporary boards covering the opening. This will expose the space where you’ll be framing the garage door.
- Find the Center: Use a measuring tape to locate the center of the garage door opening. Mark this point clearly.
- Measure and Cut the Center Block: Measure the height from the center point to the ceiling. Cut a 2×10 wooden board to this length. Use a framing square for precise cuts.
- Install the Center Block: Nail the cut block vertically in the center of the opening. Ensure it’s level and securely anchored.
- Install Side Boards: Cut and install side boards, connecting them to the center block. These boards will provide support for the door frame. Space nails along the boards for secure attachment.
- Cut and Install Top Horizontal Board: Measure the width of the opening. Cut a 2×6 board to this length. Install it horizontally above the center block to complete the frame structure.
- Paint or Prime the Frame: Pre-painting the boards before installation will save you time and effort. This step is essential for a professional finish.
- Fill in Middle Sections: Depending on your design preference, add additional boards vertically or diagonally between the side boards for aesthetic purposes.
- Protect Drywall: If you’re not immediately installing the garage door, cover the opening with plywood to protect the drywall from the elements.
Safety Tips
- Always wear appropriate safety gear, including gloves and safety glasses, when working with tools and materials.
- Use caution when operating power tools, such as circular saws, to prevent accidents.
- Secure the ladder properly before climbing to higher areas.
Common Mistakes to Avoid
- Inaccurate measurements can lead to misaligned frames. Double-check measurements before making cuts.
- Failing to level the boards can result in an uneven garage door installation.
- Over-nailing or under-nailing the boards can affect the structural integrity of the frame.
Conclusion
Framing an 8×7 garage door requires careful planning, accurate measurements, and attention to detail. By following the step-by-step instructions provided in this guide, you can achieve a professional-looking result that enhances the overall appearance and functionality of your garage.
Remember to prioritize safety and double-check your work at each stage to ensure a successful outcome. With the right techniques and a bit of patience, you’ll have a well-framed garage door that adds value to your property and stands the test of time.


