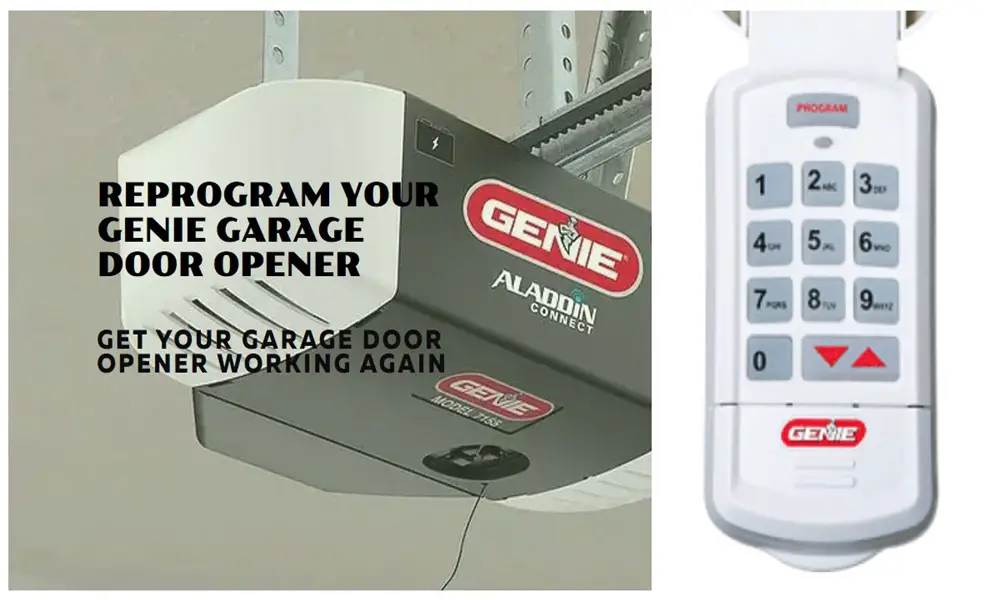
Genie Garage Door Opener Reprogram

Garage door openers have become an integral part of modern homes, offering convenience, security, and ease of access. Among the leading brands in the market, Genie stands out for its reliability and innovative features. However, like any electronic device, Genie garage door openers may require reprogramming from time to time to ensure optimal performance and security.
In this article, I’ll delve into the reasons why you might need to reprogram your Genie garage door opener, the process involved, and essential tips to make the task hassle-free. Whether you’re adding new remotes, updating security codes, or troubleshooting connectivity issues, understanding the reprogramming process is key to maintaining the functionality of your garage door opener.
So, why might you need to reprogram your genie garage door opener?
Expanding on Clearing out Remotes and Keypad
If you’re ready to give your genie garage door opener a fresh start, clearing out existing remotes and keypad settings is the first step towards achieving seamless operation. Let’s delve deeper into each step to ensure you understand the process thoroughly:
Locate the Program Set Button
The program set button is a vital component of your Genie garage door opener, usually located on the main unit or motor housing. It’s identifiable by its distinct labeling or iconography.
Take a moment to visually inspect your garage door opener to locate the program set button. It may be situated near the antenna or control panel for easy access.
Press and Hold the Program Set Button
Once you’ve identified the program set button, it’s time to initiate the clearing process. Gently press the button and hold it down firmly.
As you press the button, observe for any visual cues that indicate activation. In most cases, a small LED light adjacent to the button will illuminate, signaling that the program mode is active.
Maintain pressure on the button, ensuring a consistent hold until the next step is initiated.
Simultaneously Press Up and Down Arrows
While continuing to hold the program set button, locate the up and down arrow buttons on your Genie garage door opener. These buttons are typically used for navigation and adjustment purposes.
With the program set button still depressed, simultaneously press the up and down arrow buttons. This action triggers a specific sequence within the opener’s programming interface.
Feel the tactile feedback of pressing the buttons simultaneously, ensuring both buttons are engaged firmly and held down securely.
Continue Holding Until Lights Go Out
As you press the up and down arrow buttons in unison, maintain steady pressure and focus on the LED lights on your Genie opener.
Observe the LED lights carefully, paying close attention to any changes in illumination or behavior. The lights may flicker or dim momentarily as the clearing process is initiated.
Continue holding the buttons until all LED lights on the opener go out completely. This signifies the completion of the clearing process and indicates that remotes and keypad settings have been successfully cleared.
Verify Clearance
With the lights extinguished, take a moment to verify the effectiveness of the clearing process.
Test any previously programmed remotes or keypad entries to ensure they no longer activate the garage door opener.
If the clearance was successful, you’ll notice that the opener no longer responds to any pre-existing commands, indicating a clean slate for reprogramming.
Expanding on Programming Remotes
Now that you’ve cleared out the old settings from your Genie garage door opener, it’s time to program your remotes for seamless operation. Follow these detailed steps to ensure successful programming of your remotes:
Locate and Press the Program Button
Begin by locating the program button on your genie garage door opener. This button is typically labeled or marked for easy identification.
Press and hold the program button until you see a distinctive purple light start flashing on the opener. This indicates that the opener is now in programming mode, ready to accept new remote commands.
Press the Remote Button
With the opener in programming mode, grab the remote you wish to program and hold it within range of the opener.
Press the desired button on the remote that you want to assign to the opener. Ensure that you press the button firmly and hold it down for a few seconds.
As you press the remote button, pay attention to the LED indicator on the opener. Wait for the green light on the opener to turn off before releasing the button on the remote. This step confirms successful communication and programming between the remote and the opener.
Verify Successful Programming
After pressing the remote button, take a moment to verify that the green light on the opener indeed turns off each time you press a button on the remote.
Repeat the process for each additional remote you wish to program, ensuring that each remote button is successfully programmed and confirmed by the green light indicator on the opener.
By following these steps meticulously, you can ensure that all your remotes are programmed and ready to operate your Genie garage door opener efficiently and reliably.
Expanding on Programming Keypad
If you’re looking to enhance security and convenience by programming your keypad for easy access, follow these comprehensive steps:
Ensure Fresh Batteries
Before starting the programming process, it’s crucial to ensure that your keypad has fresh batteries installed. Dead or weak batteries can impede the programming process and result in unreliable operation.
Replace the batteries in the keypad with new ones, ensuring proper polarity and connection for optimal performance.
Erase Previous Code
To initiate the programming process, simultaneously press the program, up, and down arrow buttons on the keypad. Hold these buttons down until you see the red LED indicator start flashing.
Release the buttons once the LED starts flashing, indicating that the keypad is ready to accept a new code.
Enter New Code
With the keypad in programming mode, enter a new code of your choice using the numeric keypad. Choose a code that is easy for you to remember yet secure enough to prevent unauthorized access.
After entering the new code, press the program button on the keypad to confirm and save the code.
Verify Programming
Once you’ve pressed the program button, observe the red LED indicator on the keypad. It will blink faster, indicating that the new code has been successfully programmed and saved.
To finalize the programming process, go to the program set button on the opener itself. Press the button and wait for the purple light to flash, confirming successful communication and synchronization between the keypad and the opener.
Re-enter Code if Necessary
After confirming programming at the opener, return to the keypad and re-enter your chosen code using the up and down arrow buttons. Repeat this process if necessary until the code is successfully programmed and confirmed.
Conclusion
Reprogramming your genie garage door opener doesn’t have to be a daunting task. By following the step-by-step instructions outlined in this guide, you can efficiently manage and customize your opener’s settings to meet your specific needs. Let’s recap the key points and benefits of reprogramming:
In essence, reprogramming your genie garage door opener is a proactive step towards maintaining its functionality, security, and convenience. With the knowledge and guidance provided in this guide, you’re equipped to tackle the task with confidence and ease.
So go ahead, take control of your genie garage door opener, and experience the satisfaction of smooth, hassle-free operation. Say hello to seamless access and goodbye to frustration – your Genie opener is ready to serve you reliably for years to come.
FAQs
Do I need any special tools to perform these tasks?
No, you don’t need any special tools. Just ensure you have fresh batteries for the keypad.
How long does the programming process usually take?
The programming process typically takes just a few minutes for each remote or keypad.
What should I do if the programming doesn’t seem to work?
If the programming doesn’t work initially, double-check the steps and try again. Sometimes, repeating the process resolves any issues.
Can I program multiple remotes and keypads to work with my Genie opener?
Yes, you can program multiple remotes and keypads to work with your Genie opener following the same steps outlined in the article.
Is it necessary to clear out old settings before programming new ones?
While it’s not always necessary, clearing out old settings ensures a clean slate for programming new remotes and keypads.


