Garage door repairs have become increasingly DIY-friendly, but working with torsion springs still requires precision, knowledge, and caution. Whether you’re a seasoned DIYer or a first-time fixer-upper, having an updated torsion spring conversion chart is essential to ensure accuracy, safety, and functionality.
In this comprehensive 2025 guide, you’ll learn:
- What torsion springs are and how they work
- Why conversion charts are critical when replacing springs
- The most common spring sizes (based on recent garage door trends)
- Step-by-step instructions for using the conversion chart
- Essential safety guidelines and troubleshooting tips
- When to DIY and when to call a professional
What Are Torsion Springs?
Torsion springs are mechanical devices that store energy by twisting. In garage doors, they counterbalance the weight of the door, allowing it to open and close smoothly. Located above the door opening, these springs use torque to lift the door and tension to lower it safely.
They differ from extension springs, which stretch. Torsion springs twist on a shaft and are tightly wound. Each spring has:
- A stationary cone attached to a center bracket
- A winding cone at the other end, allowing manual adjustment
Torsion Spring Lifespan in 2025
| Type | Lifespan (Average Cycles) |
|---|---|
| Standard Residential | 10,000 cycles |
| High-Cycle Springs (Upgraded) | 25,000–50,000 cycles |
In recent years, more homeowners have opted for high-cycle springs to minimize long-term maintenance and reduce service calls.
Why Use a Torsion Spring Conversion Chart?
Torsion springs vary in wire gauge, coil count, and length. Choosing the wrong spring could lead to:
- A garage door that won’t balance or open
- Damage to the opener system
- Potential injury or property damage
A conversion chart helps you:
- Match spring measurements to correct wire sizes
- Avoid guesswork by converting length, diameter, and coil count
- Ensure safe and effective replacements
Key Benefits
- ✅ Precise measurement alignment
- ✅ Quicker identification of replacement spring
- ✅ Peace of mind and safer installation
- ✅ Helps avoid miscalculations and sizing errors
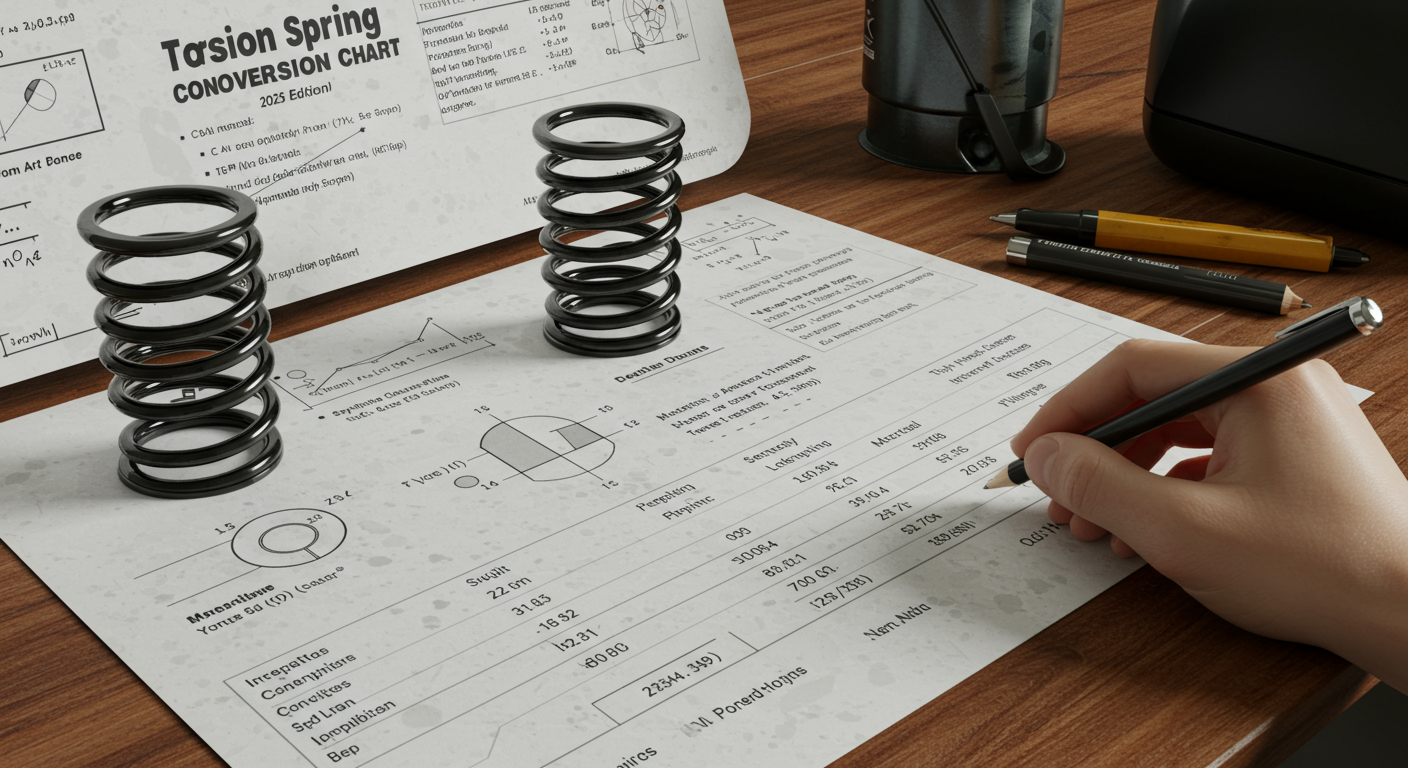
How to Use a Torsion Spring Conversion Chart
Here’s how to determine the correct spring replacement using a conversion chart:
Step-by-Step Guide
- Measure the Wire Size
- Measure 10, 20, or 40 coils with a ruler or caliper
- Use the table to convert coil length to wire gauge
- Measure the Inside Diameter
- Typically: 1.75″, 2″, 2.25″, or 2.625″
- Diameter is stamped on winding cones
- Measure the Spring Length
- Measure from one end of the coil to the other
- Do not include the cones in your measurement
- Refer to the Conversion Chart
- Match your wire size and diameter to determine proper spring specs
- Calculate the Torque and Spring Rate
- Optional: Use tools or apps to calculate torque needed for your specific door weight and height
2025 Torsion Spring Conversion Chart (Example)
| Coils (in 20”) | Wire Size (inches) | Wire Gauge |
|---|---|---|
| 20” | 0.250 | #2 |
| 19” | 0.262 | #1.75 |
| 18.25” | 0.283 | #1.5 |
| 17.5” | 0.306 | #1.25 |
| 16.75” | 0.331 | #1 |
Always verify with manufacturer specs or door weight to confirm the right spring configuration.
Most Common Garage Door Torsion Spring Sizes (2025)
Spring trends change over time based on door models. The following sizes are the most commonly used in 2025:
- 2” Inside Diameter – Found in standard residential garage doors
- 2.25” and 2.625” ID – Used in heavier double-wide doors
- Wire Gauges: #1.75 (0.262″), #2 (0.250″), and #1.5 (0.283″)
- Spring Lengths: 18″ to 25″ (each side), depending on door height/weight
Essential Tools for Torsion Spring Replacement
Ensure you have the following before starting:
- Torsion winding bars (18” steel rods)
- Locking pliers or clamps
- Socket wrench set
- Heavy-duty ladder
- Protective gloves
- Safety glasses
- Measuring tape
- Garage door lubricant
New for 2025: Some brands now offer spring calibration apps and Bluetooth tension sensors for safer DIY calibration.
Safety Precautions When Handling Torsion Springs
Torsion springs are under high tension and can cause severe injury if mishandled.
Follow These Rules:
- Always release spring tension before removal
- Use only professional-grade winding bars—never screwdrivers!
- Wear gloves and safety glasses
- Secure the garage door with clamps to avoid accidental movement
- Don’t attempt spring adjustment if the spring is visibly damaged
- If unsure, call a certified technician
Troubleshooting Common Spring Issues
| Problem | Likely Cause | Solution |
|---|---|---|
| Door lifts unevenly | One spring has lost tension | Rebalance or replace springs |
| Door slams shut or won’t open | Broken torsion spring | Immediate spring replacement required |
| Door squeaks loudly | Lack of lubrication or rust | Clean and apply silicone-based lubricant |
| Door opens partway then stops | Incorrect spring or damaged cables | Check spring size and inspect lift cables |
When to Call a Professional
If you experience any of the following:
- Broken spring with loose cables
- Spring measurement confusion
- Unusual spring size (custom or commercial doors)
- Inexperience with power tools or safety risk
Contact a licensed garage door technician. Many providers in 2025 offer same-day spring replacement services and now use AI-powered balancing tools for more accurate setups.
Final Takeaways for 2025
- Torsion springs are the backbone of your garage door’s lifting system.
- An up-to-date conversion chart is critical for accurate spring replacement.
- Always use proper tools and observe safety protocols.
- Measure coil length, spring diameter, and wire size precisely.
- Don’t hesitate to call a pro if you’re uncertain—safety is priceless.